In 2017, Facebook overhauled the way their ecommerce shopping functionality works. The network made it easier than ever for ecommerce brands to sell products directly through Facebook with the new Shop tab and brands have been reaping the benefits ever since.
Isn’t it time you leveraged this new sales channel to grow your business?
How can a Facebook Shop boost sales?
Particularly if you already have an online store running, you might wonder how selling on Facebook can substantially move the sales needle for your business.
One of the biggest assets Facebook has to offer is their simply massive user base. With over 1.3 billion active users every single day, there’s a huge audience waiting for you. And that audience is engaged, too. According to Adweek, the average Facebook users spends close to 35 minutes on the website each day. Selling on Facebook enables you to meet potential customers where they’re already hanging out.
A Facebook Shop is also one of the many ways to diversify your sales channels. Multichannel selling has been a big ecommerce buzzword lately — and for good reason. Facebook can be one of the many channels you use to reach customers and garner sales.
Step 1: Set Up the Facebook Shop + Online Store Integration
In order to set up a Facebook Shop, you’ll need to have a Facebook Page established for your business. For our purposes today, we’ll assume you have one of those already. Some ecommerce solutions, like Shopify or 3dcart, have a Facebook Shop Integration that makes quick work of the whole process. We’ll use 3dcart as an example here. If you’re using a different ecommerce platform with direct integration, skip to Step 2.
To set up the integration, log into 3dcart Online Store Manager. Head over to Modules (on the left hand side) and type “Facebook shop integration.” Select “Change Settings” then click on the “Initiate Onboard Process” button.

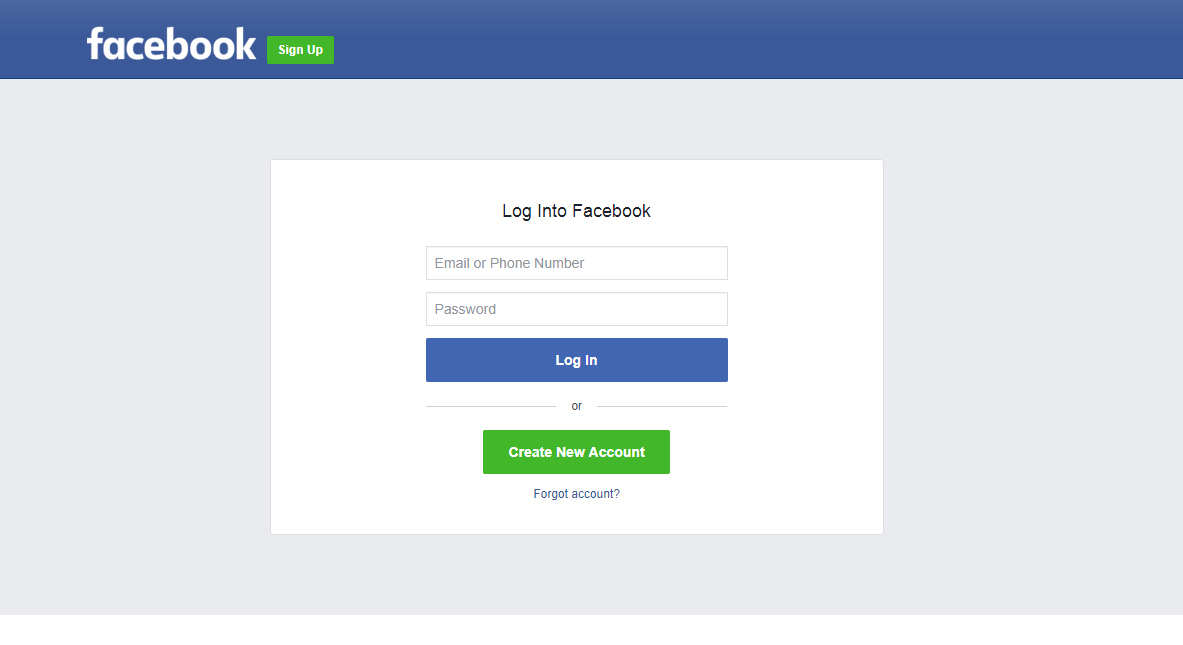
Log into your Facebook profile — make sure it’s the one that’s an admin for your business’ Facebook Page. Once logged in, set your configurations for:
- Business contact email,
- Company name,
- Your store’s Terms & Conditions,
- Product category, and
- The primary Business Page your Shop will live on.
Click “Save” and accept the Terms & Conditions. Once you’ve accepted the terms, your product catalog from 3dcart will automatically sync with your new Facebook Shop tab.
Step 2: Add a Facebook Shop Tab to Your Page
For 3dcart users, the Shop tab should automatically appear once you’ve completed the integration from step 1. If you aren’t using 3dcart, log into Facebook. On the left hand side, navigate to “Pages” and select your business page (the one you want to add a Shop tab to.)

On the top right, click “Settings” then “Edit Page.” Toward the bottom of the Edit page, you’ll see a button labeled “Add a Tab.” Click the button, then select the “Shop” tab.
Choose What Kind of Facebook Store
Once you’ve added the Facebook Shop tab, it’s time to configure your store. Facebook offers 3 main ways for customers to checkout from your Facebook Store:
- Checkout on Facebook
- Checkout on your website
- Message to buy
The last option involves the most work for you because you’ll have to manually process any orders that come through Facebook Messenger. That’s why we recommend choosing one of the first two options.
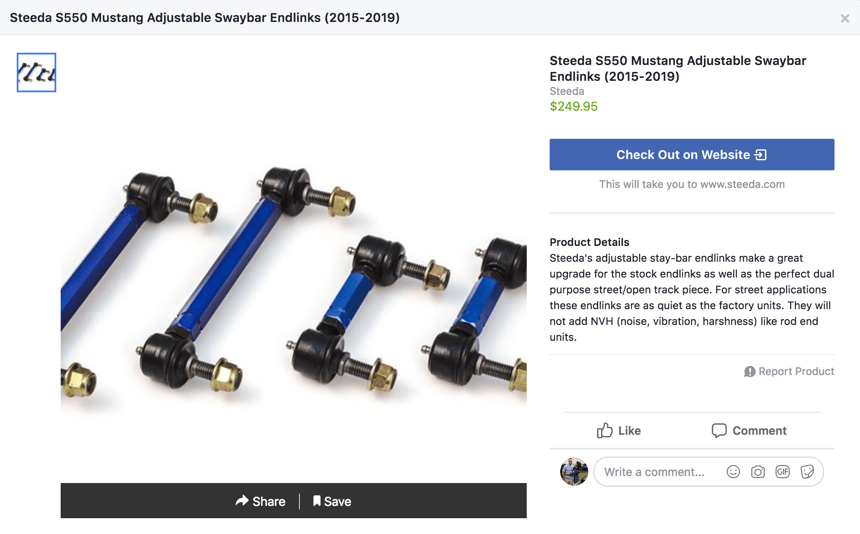
In the 3dcart example from Step 1, the integration pulls in product details from your catalog and prompts customers to check out on your website.

Configure Payments and Finish Setup
If you use an ecommerce solution other than 3dcart and choose the Checkout on Facebook option, you’ll use Stripe to process payments through Facebook. If you don’t have an existing account with Stripe, opening one is your first step.
While setting up your shop, click on the link to “Connect to an existing Stripe account.” Log into your new or existing Stripe account and follow the prompts to connect your Stripe and Facebook accounts.
Note: Facebook is working on adding the option to process payments through PayPal so stay tuned for that functionality.
Once your payments are configured, you should be redirected back to the shop setup page. To complete setup of your Facebook Shop, click on “Finish Setup” and continue filling in your business information (this part varies depending on the type of business).
When you’ve finished filling everything out, the Shop tab on your Facebook Page should be live and ready for inventory.
Step 3: Add Products to Your Facebook Shop
Now that your Shop is live and ready to rock, it’s time to add products to it. If you use 3dcart and completed step 1 above, you’re already done. Your 3dcart online store product catalog automatically syncs with the Shop tab when you set up the integration.
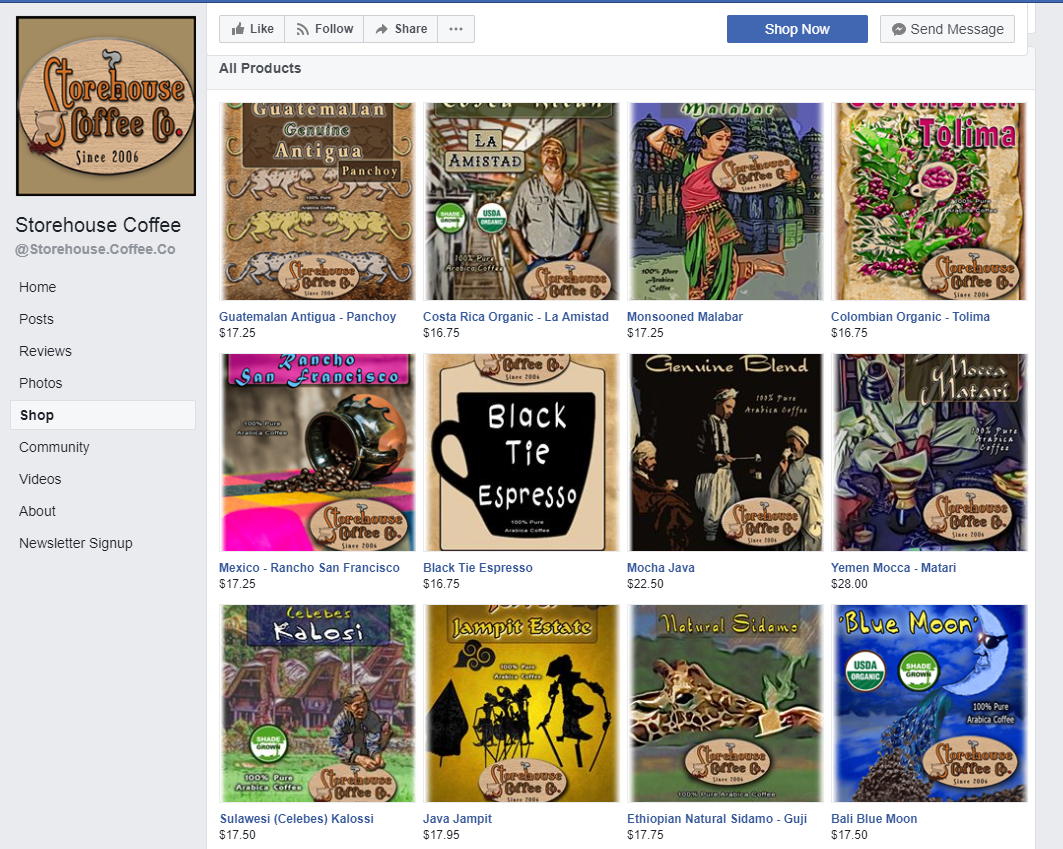
Once all of your products are added to your Facebook Shop, you’ll see a list with each item and the option to modify them, so you add new photos, change prices, update inventory, or anything else you need to do.
Other Ecommerce Websites
For ecommerce websites not using 3dcart, you’ll add products manually. Head back to your Facebook Business page and click on the new Shop option on the left side. When you do, a box should pop up prompting you to “Add a Product.”
Upload a photo of the product and fill out the rest of the information — name, price, description, inventory, category, and shipping options and costs. Be sure to select the “Use Photos” option so customers can see that beautiful product photography. You can also add options for color, size, or anything else by clicking on the “Add variants” button.
When you’re done, click “Save” and follow the same process for the rest of the products you want to sell in your Facebook Shop.
Add a Facebook Shop and Grow Your Ecommerce Sales
From billions of monthly users to their robust algorithm and advertising options, using Facebook to market and sell for your ecommerce business is a no-brainer. Now that you’ve added a Facebook Shop to sell directly through the social network, a whole new sales channel is open to you. Now go leverage it!


Leave a reply or comment below