


You never know when you're going to need to take a screenshot. There are all kinds of reasons why you might need one.
Maybe you're writing an article for your online store's blog, and you want to mention one of your favorite websites. This would be a perfect place for a screenshot to enhance your content. Or maybe you're trying to choose between two products, and you want a friend's opinion on which looks better. Sure, you could send links, but a screenshot would save your friend some time.
But there are other important reasons to take screenshots as well. For example, if you need technical support with your website or software, you'll often need to send a screenshot to help communicate your issue to the support team. Without a screenshot, support can often have a harder time helping you fix a problem. Especially if they can't see the same thing on their end.
In this article, we'll go over the best free screen capture tools you can use to take screenshots for any purpose. We'll also provide some tips on taking better screenshots, including when you need them for tech support.
Table of Contents
How Do Screen Capture Tools Work?
Before we start looking at individual tools, we'll cover some basics of how screen capture tools work. They're not all the same, so it's helpful to know what makes them different.
The point of any screen capture tool is to take a picture of your screen (whether the whole thing, or just a part of it) so you can share that image as needed. But the capabilities of the tools can vary. So can the process of taking the screenshot and sharing it. Your needs for your screenshots can influence which tool is best for you to use.
Here's a general rundown of the differences in how screenshot tools work.
Saving the Image
Some screenshot tools automatically save the screenshot as an image file. Common image formats are .jpg, .png, and .bmp.
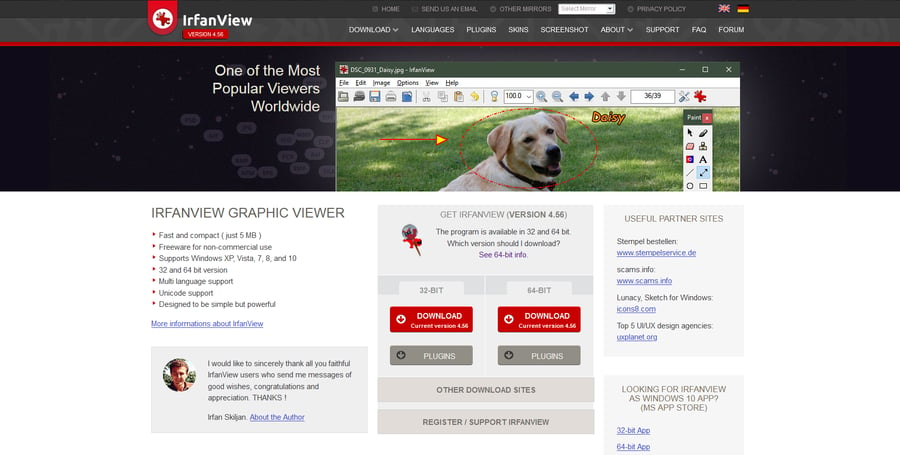
Other screenshot tools only copy the image to your computer's clipboard. In that case, you'll need to paste it into a graphics program to create a file. IrfanView is a good free program for this purpose. You can simply create a new file and paste your screenshot into it, then save it as a .jpg or other format.
Or, you may be able to paste your clipboard screenshot directly into an email or chat interface. Some will accept pasted images, but others won't. So, it's always good to ensure you have the right tool to provide screenshots in a way that will work in any situation.
Some screen capture tools also let you upload the image to a web server. This will allow you to share the screenshot by sending a link to the recipient, rather than sending them the image itself.
Captured Area
Some screenshot tools automatically capture the entire screen. This is the most basic type of screenshot. If you're using a tool like this, and you only want to share part of the screenshot, you'll need to crop the relevant area first. (IrfanView also works well for this. Just select an area and choose Crop selection (Cut out) from the Edit menu. Then save the file.)
Other screenshot tools let you select an area of the screen right away. This will save you the step of cropping it in another program.
Annotations and Editing
An annotation is something you add to a screenshot. For example, you could highlight a certain area, draw a box or arrow, or underline an important element. This is useful when you want to draw attention to a specific thing in the screenshot. Other types of editing include obscuring personal data like usernames and passwords.
Some screen capture tools have editing or annotation features built in. This saves another step, because you won't need to edit the image in a graphics program.
Which Screenshot Methods are Best?
The best way to take screenshots varies depending on what you need the screenshot for. You can use any tool of your choice, as long as you:
- Get all the necessary parts of the screen into the screenshot
- Know whether you need the screenshot as a file or if you can simply copy and paste it
- Make sure it's in the right format, if you do save it as a file
- Can make any necessary annotations
These requirements are especially important if you're taking your screenshot to send to a tech support team. If an important area of the screen is missing from the screenshot, or they can't open or view it, they won't be able to use it to help you.
Now, let's take a look at some of the best free screen capture tools.
Built-In Screenshot Tools on Windows and Macintosh
Both Windows and Mac operating systems have built-in screenshot functionality. So, even if you haven't downloaded anything yet, you can still take a screenshot.
How to Take a Screenshot on Windows
The built-in screenshot tool varies a little depending on your version of Windows.
The simplest way to take a screenshot on Windows 7 or older is to press the Print Screen key on your keyboard (usually abbreviated as Prt Scr or similar). However, this simply copies an image of your entire screen to the clipboard. Alt+Print Screen will capture the visible area of the active window in the same way. Like we covered earlier, you'll need to paste it into an image program if you want to do any cropping or editing.
In Windows 8 or 10, you can press the Windows Key + Print Screen to automatically create an image file of the screenshot. It will save in a Screenshots folder inside your Pictures folder.
Starting with Vista, Windows also has the Snipping Tool, which lets you select an area of your screen. The fastest way to access it is to select the Start menu and type Snipping Tool into the search bar. You'll have a chance to annotate the "snip" and save it as a file, or copy it to the clipboard.
In Windows 10, there's also an advanced version of the Snipping Tool called Snip & Sketch. You can find it in the Start menu. It's worth learning to use it even if you're already a fan of the Snipping Tool, since Microsoft is planning to retire the Snipping Tool eventually.

Source: Windows Experience Blog
How to Take a Screenshot on Mac
Mac OS has had a basic screenshot feature for decades. You can capture your whole screen with Shift+Command+3. By default, this screenshot will save as a .png file on your desktop, although older Macs will use .jpg.
Newer versions of Mac OS expanded on the built-in screenshot capabilities. They added more hotkey combinations to let you capture your screen in different ways. With the release of Mojave, taking a screenshot on Mac is easier than ever thanks to the Screenshot Tool. You can take screenshots directly through the Screenshot Tool's interface, so you no longer need to remember all the hotkeys, but you can still use them if you prefer.
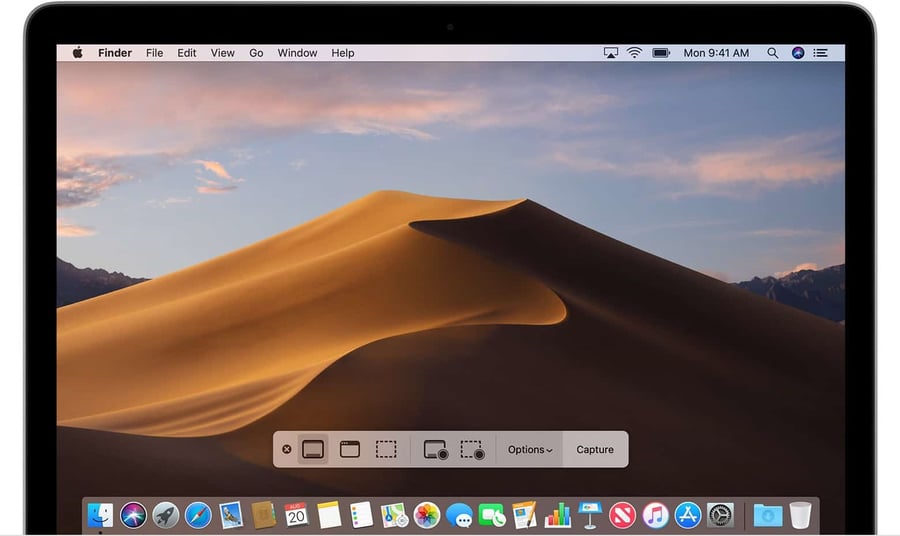
Source: Apple
To find the Screenshot Tool, open Launchpad, then navigate to Other, and then Screenshot. This will open the interface, or you can open it by pressing Shift+Command+5. You can capture your whole screen, select an area of the screen, or select an open window to capture.
By default, the screenshot will be saved as a .png on your desktop. You can change the save destination in the Screenshot Tool's Options menu.
The Best Free Screen Capture Tools
If you're not satisfied with the tools built into your operating system, you have plenty of other options. Let's take a look at some of the best free screen capture tools available today. As something of a bonus, many can take video as well as still images of your screen.
TechSmith Capture
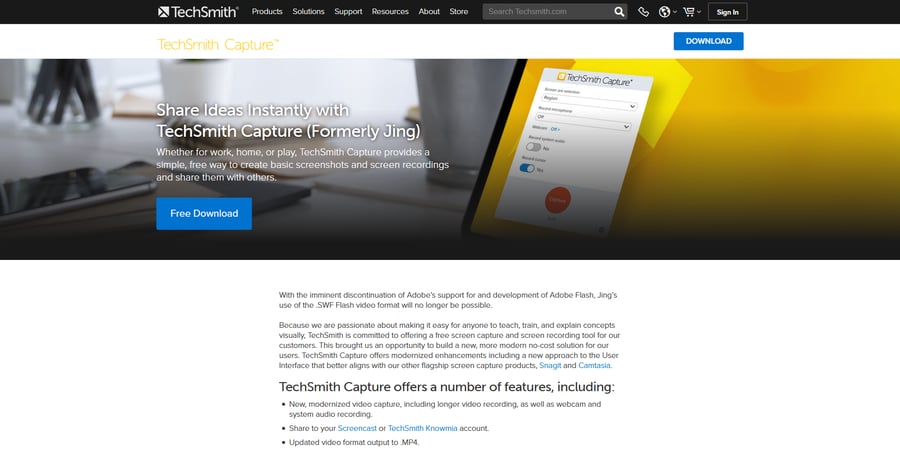
Formerly known as Jing, TechSmith Capture is a well-known solution for screenshots and video. You can capture your full screen or select a specific area. Annotation tools are also included.
Sharing your screen captures and video is also very easy because you can upload them to TechSmith's cloud services, like Screencast. This way, you can simply provide a link to the screenshot as needed. You can also save your captures as a file on your computer, or copy them to the clipboard.
ShareX
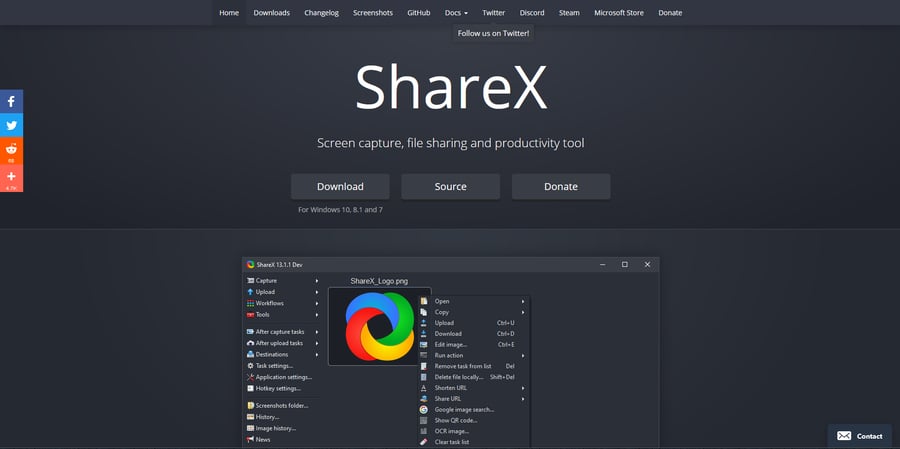
ShareX is a free, open-source productivity tool for screen capturing and file sharing. It supports a huge range of services for uploading and sharing your files. This makes it even easier to preserve and share your screen captures, since you won't need to sign up for a new service just to upload files. For example, you can save directly to Google Drive and dozens of other solutions.
ShareX has robust screen capturing tools for both image and video, and has built-in editing and annotation tools. One nice feature is the ability to capture images as .png files and delete the background to create a transparency.
Nimbus Capture
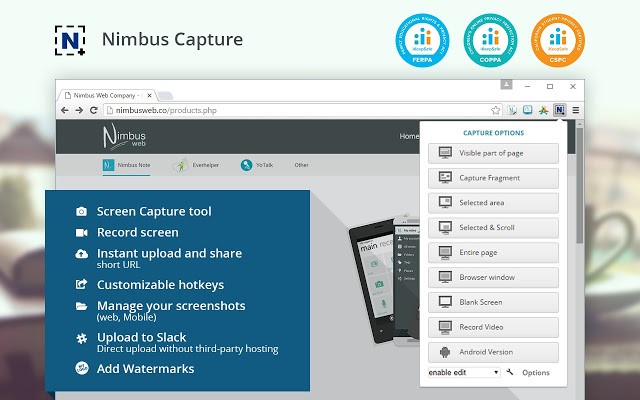
Nimbus Capture is a bit different than the previous solutions we've mentioned. While it's available as a Windows app, you can also get it as a browser extension for Chrome or Firefox. It has similar features as the other tools in our list, but it's focused more on capturing or recording from browser windows rather than your whole screen.
One particularly handy feature of Nimbus Capture is the ability to screenshot an entire webpage, even the parts that aren't on the screen at the time. You can then annotate it as needed. The image can be saved to your computer or uploaded to a variety of services.
Awesome Screenshot
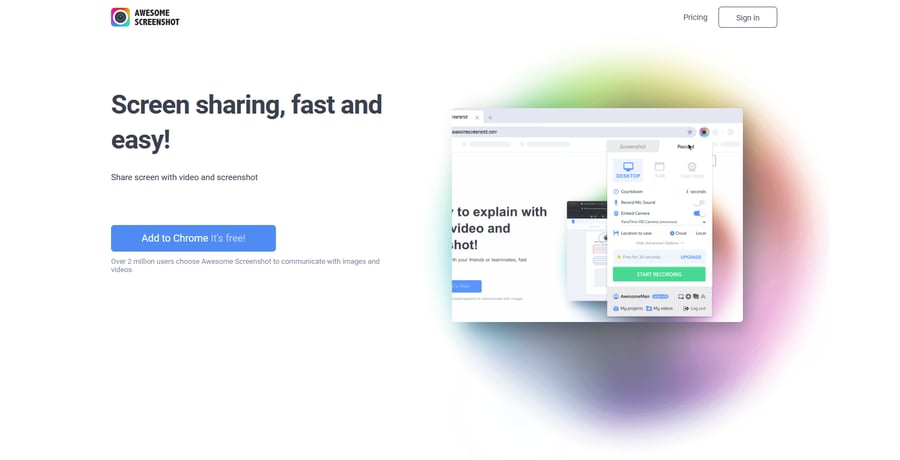
Awesome Screenshot is similar to Nimbus Capture, and comes with many of the same features. However, it also has dedicated cloud storage you can choose to use, and customizable hotkeys that can make your workflow a lot faster.
Greenshot
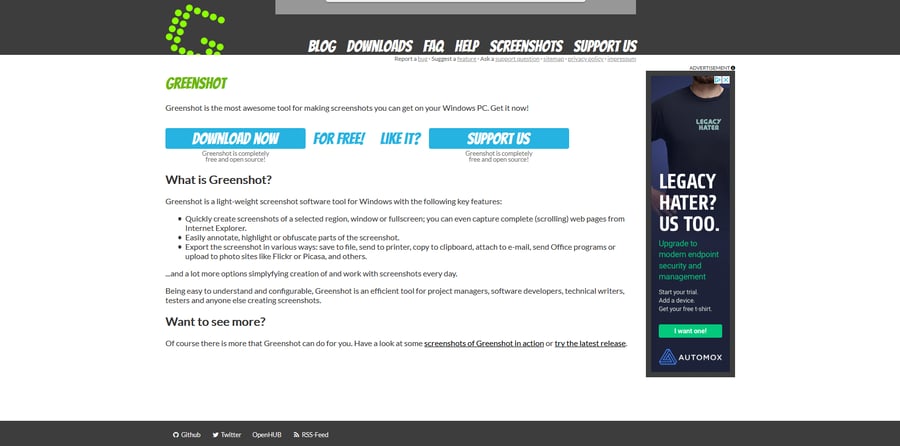
Greenshot is another screen capture tool packed with options, and it has an old-school interface many users will find comfortable. It can capture your whole screen or a selected region, and can also screenshot an entire webpage like Nimbus Capture and Awesome Screenshot. This makes it a fantastic all-purpose tool, as long as you don't need video.
Greenshot also has some of the most versatile annotation tools, including the ability to highlight areas — and also to obscure them. This makes it great for removing personal information from your screen captures. Greenshot also makes it easy to save or upload your images in a variety of ways.
Tips for Taking Screenshots
Now that we've listed some of the best tools for taking screenshots, let's cover some general tips. Naturally, your needs for a screenshot will vary depending on its purpose. But keep these tips in mind and you'll take better screenshots overall.
- Know when to crop. Sometimes you might want to share your entire screen, but it's much more common to only want to capture a certain area. For example, if you're taking a screenshot of your web browser, you might not want everyone else to see the other tabs you have open. There's a reason why people invented tools to capture only part of the screen, so use them!
- Make sure you include the relevant details. This ties into the previous tip. Cropping is great, but don't crop too much. For example, if you're sending a screenshot to Shift4Shop support, remember to include the URL in the browser bar. This will help your support agent help you.
- Ensure you save screenshots in the right file format. Fortunately, most screenshot tools are already set up to save in .jpg or .png. These are great formats because web browsers can read them. If your screenshot is going to be sent to Shift4Shop support, other good formats are .pdf, .gif, and .bmp. Just avoid formats that require a specific program to open, like Photoshop PSD files.
- Know when to annotate. Some people find it fun to edit screenshots, while others find it tedious. This can lead to either too many annotations or not enough. Both can be bad. The saying goes that a picture is worth a thousand words. But if you haven't highlighted an important detail, it can end up saying nothing at all — and if you highlight too many details unnecessarily, it can say so much that the point gets lost.
Conclusion
Learning to take screenshots on your computer is easy, and there are plenty of great tools available to do it. Let's summarize:
- Screenshot tools do have some differences in how they work, like how much of the screen they capture at once.
- Finding the right tool for your needs is important, but there are a lot of great ones available.
- Operating systems like Windows and Macintosh have built-in screen capture tools that can work just fine.
- If you want more functionality, there are tons of free solutions available.
- Get familiar with your screenshot tool of choice, and make sure your screenshots are appropriate for their purpose.
One of the unspoken side effects of becoming skilled with screen capturing tools is that it also makes you feel like a more advanced computer user. Once you're comfortable with the tools, you might find yourself taking more screenshots in your day-to-day life. They're great for many more purposes than just work or tech support — like preserving favorite tweets and other social media posts. No matter how you use them, screen capture tools are great to add to your arsenal!


Leave a reply or comment below