

Great product photography is a critical part of a successful online store. However, for many eCommerce merchants, this is an area in which it's easy to fall short. A lack of knowledge of proper techniques, underestimation of its importance, or a mere misunderstanding as to what makes a good product image makes product photography a weak point for many online stores.
Good product photography is not as simple as placing items on a table and just pointing and shooting a camera. Even a brand new smartphone or cutting-edge Nikon can't do all the work by itself — it falls to you to set up the shot properly and work any necessary magic with post-processing. This guide will teach you the concepts and techniques for taking excellent product photos that will make your brand and products shine.
Table of Contents
- Why Good Product Photography Matters
- Creating Your Product Photography Studio
- Understanding Your Camera
- Taking Your Product Photos
- Optimizing Your Product Photos
- What Are the Best Types of Product Photos for an Online Store?
- Technical Optimizations for Product Photo Image Files
- Post-Processing for Product Photos
- How to Remove Backgrounds from Your Product Photographs
- The Best Photo Editing Tools for Amazing Product Photos
- Free Tools for Product Photo Editing
- Paid Tools for Product Photo Editing
- Final Tips for Choosing Your Image Editing Program
- Ready to Take Your Product Photography to the Next Level?
Why Good Product Photography Matters
Before we get into the details of what you should do to take great product photos, let’s discuss your objectives for doing so. This will lead to greater understanding of why these techniques are essential to your success.
Keep in mind that just because these objectives are listed in a particular order doesn’t mean some are less important than others. You need to fulfill them all.
Objective 1: A Consistent Look and Style
Consistency is key for making your products and online store look professional. Photography with a cohesive look gives the sense that your company maintains high standards and is on the ball. Inconsistencies in your product photography can distract shoppers away from the products themselves.
Of course, in some cases you might need photos that break from a certain pattern — for example, if you use live models in separate locations. But even these photos need a level of consistency in their style, or you risk distracting or confusing your viewers rather than showing off your products.
Objective 2: Accuracy
You always want to portray your products accurately, so customers can get a correct idea of the color, size, and details of your items. Achieving this accuracy means proper usage of lighting (to show colors correctly), proper angles (to show proportions), and high resolution (to preserve detail).
In some cases, you’ll need to take extra steps to ensure that your photos accurately represent your products. For some items you’ll need multiple photos, like front and back views, while for others, you’ll need a method of showing scale, such as photographing your item next to a ruler.
All product photos should be high-definition enough for the customer to zoom in for a good look, but some products will need higher definition than others. An example would be clothing or other fabric items, for which a shopper might want to zoom very close in to inspect stitching, texture, or other details.
Objective 3: Flatter Your Products
Your photography needs to show off your products to their advantage to make them more appealing to the customer. Of course, keep accuracy in mind while you do this, otherwise your photos might be considered misleading — for example, if product size plays into the overall value, don’t try to make items appear larger than they are.
Instead, flatter your products by creating a dedicated, well-lit space to take your photos. This will help you create the kind of images that make your products look their best. You’ll need the proper setup to capture the details that show quality, including a backdrop, lighting, and other elements we’ll explain shortly.
Objective 4: Inform Your Customers
This is related to the accuracy we’ve already described, in the sense that your photos need to convey information to the customer. But informing your customers goes beyond simply providing an accurate picture of your product and into helping your customers make their purchase decisions.
This is the major reason for having multiple images per product. While front and back views are a necessity for some items (like apparel), side views, bottom views, and other angles can also be very helpful. Shoes are a perfect example — a customer might want to see them from the top, side, 3/4 view, back, front, and bottom (to view the tread pattern), as well as have a close-up of the laces, stitching, and decorative elements.
Always consider which types of photos can provide the type of details that come in handy when a customer is trying to make a decision. Is there any helpful information on your products themselves that could help a customer choose to purchase? Labels, textures, small details, etc. can all be worthy of a close-up photo.
Again, accuracy and information are related but not the same. Accurate product photos say “this is the product.” Informative product photos make your customers say “yes, I want this product.” Your photos need to accomplish both goals.
The Benefits of Product Photography that Meets These Objectives
Meeting these objectives will result in a consistent, professional-looking online store, but what positive results will this actually bring? The following:
- Increased sales. Great product photos that meet these objectives will make your products more appealing, resulting in more sales.
- Higher customer satisfaction. Customers will have fewer questions, and an easier time deciding what they want. They can examine your photos and buy with confidence.
- Reduced returns. If customers have access to great product photos, there’s less uncertainty, fewer regrets, fewer mistakes, and fewer returns.
Creating Your Product Photography Studio
You’ll need to set up a dedicated photography studio in order to take the best possible product photos. This doesn’t have to be a large space, but it does need to be large enough for your products and equipment and have room for you to move around. Make sure you use tape to mark out where everything is, so if you need to take down the setup you won’t struggle to make it consistent again. (Yes, the tape is going to need to stay on the table or floor in case you need to set up your studio again.)
There are at least five parts to a photography studio, including a surface, backdrop, lighting, camera, and potentially a mannequin or other props. The purpose of all these items is to come together and allow you to take evenly-lit photos of your item isolated in plain white space.
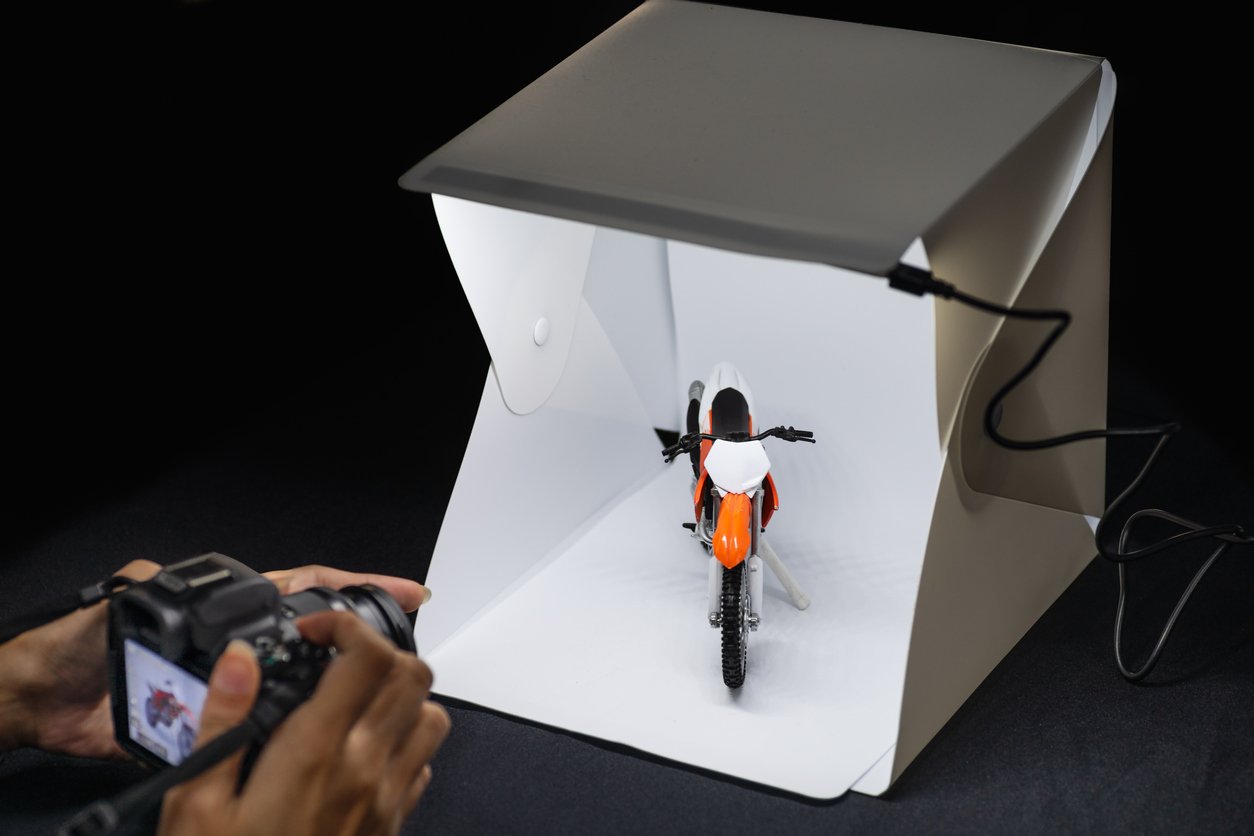
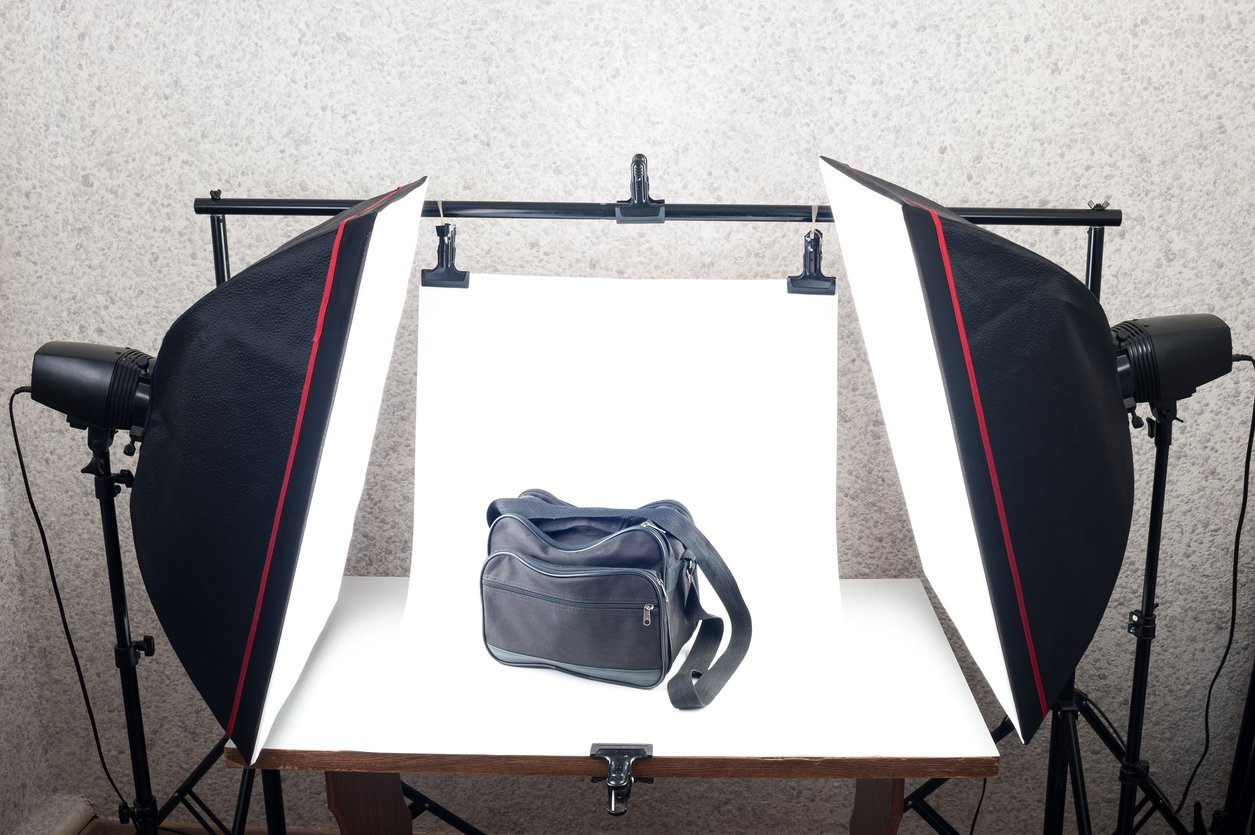
If you have the budget, you can purchase professional equipment like the pair of lights seen above, and set up the rest of the area yourself. An alternative is to buy a lightbox, which serves as a portable and self-contained photography studio with the correct backdrop. Some lightboxes even have actual lighting built in, usually in the form of LEDs.
However, if you can't afford to buy professional lighting, it’s easy and inexpensive to set up an area yourself that works just as well, and can be built to whatever size your products need — then you only need a lamp and camera. (We’ll explain cameras later in this guide.)
Here’s how to create a product photography studio with a low budget.
Surface
Your surface can be a floor or table depending on the size of your products. For smaller items, a table is generally easier to work with. Either way, it needs to be smooth, flat, and white in color. You’ll need a vertical surface as well to attach your backdrop, but a wall works fine for this, so setting up at the edge of a room is a good shortcut.
When you’re taking photos of the front, back, and 3/4 view of a product, you need to take them from straight ahead and carefully avoid putting your eye level at a higher or lower angle. Even if this is subtle, it will mess up the proportions in the image, so make sure that between your surface and camera tripod height you’ll be able to take your photos straight on.
Backdrop
Professional photos use a backdrop to focus attention on the item and remove clutter. This also gives your photo a solid, single-color background that makes it much easier to edit images later if you need to. A white backdrop is always best to preserve the colors of the product, even if you place the image on another color of background during post-processing (the image editing phase). You may also consider investing in a photo backdrop changer for more efficient background adjustments during your photo shoots.
Your backdrop needs to be smooth and as featureless as possible, and come down to meet your surface at a seamless curve. White fabric can work as a backdrop if you can hang it smoothly, but make sure you avoid folds because they’ll cause distracting shadows. Another option is to use a large piece of flexible foam or PVC, available from hardware stores. Clamp one end to the front of the table, and the flexible material should sit flat on the tabletop and then curve back and upward against the wall (you can secure the top with tape if necessary). This method provides the exact type of seamless background you’re looking for.
Mannequin
If you’re selling apparel or jewelry, a mannequin is much cheaper and easier to work with than a live model. Of course, you can still use models if you have the budget to hire them, but mannequins also have the advantage of being able to remain in an identical position for a series of photos, and some customers also find it easier to picture themselves wearing your product if it’s shown on a mannequin and not another person.
For jewelry, you can get a small mannequin that is basically a neck and chest area for necklaces, or a small statue of a hand and wrist for rings and bracelets, like the ones below.

These are small enough to fit into a tabletop product photography studio. They also usually come in different colors and materials, and are available at a range of prices.
For apparel, you're going to need something bigger, but it still doesn't have to be a full-body mannequin unless you want to showcase complete outfits together. For example, if you're selling shirts, you can use a mannequin that is only the upper body. But in any case, apparel mannequins are going to require you to build your studio large enough to contain and light them appropriately.
Lighting
For product photography, the ideal lighting has a few requirements. You want the product to stand out in full detail, without any one area being overly bright or dark. You also need colors to appear correctly. Proper lighting is how you accomplish these goals.
Colors look their most natural in sunlight, but you can’t rely on a sunny day to take all your product images — and you’re probably setting up indoors, anyway. The solution here is to use a full-spectrum light. While not an exact reproduction of sunlight, full-spectrum lighting is equally balanced between red, blue, and green wavelengths, ensuring the light itself appears colorless. Compare this to an incandescent bulb (which can look yellow) or a fluorescent bulb (which can look blue) — either of those can throw off the appearance of colors. You can find full-spectrum light bulbs for sale online and in art supply stores.
Professional photography lights are already set up to meet these requirements. They use full-spectrum lighting which is passed through a white, translucent filter to soften the light and prevent harsh shadows. By putting at least one light on either side of your product, you can ensure the entire object is well-lit from all angles, without any hard shadows.
But you can do this just as easily with a single lamp, and as long as you have a full-spectrum bulb, almost any type of lamp will work.
Position your lamp to one side and slightly above the product. To keep the harsh shadows away, place a flat, white object (such as a shoebox) on the opposite side of the product from the light. This will reflect light back onto the product and diminish the shadows, preserving detail. It's a fine substitute for a second lamp.
You can also soften your overall lighting by putting a layer of translucent, white material between the lamp and the product. Tracing paper works well for this. If the paper needs to be very close to the lamp (i.e. you have no way to hang the paper in front of the lamp without attaching it to the lamp itself), make sure it doesn’t get too hot.
Check out the video below to see professional photographer Luke Ayers demonstrating a low-budget product photography studio using a single lamp, tracing paper, and a shoebox reflector.
Making Your Own Lightbox
If you like the idea of a lightbox, but you can't afford to buy one, you can also make one yourself using a cardboard box and tracing paper or tissue paper, like the one seen below.
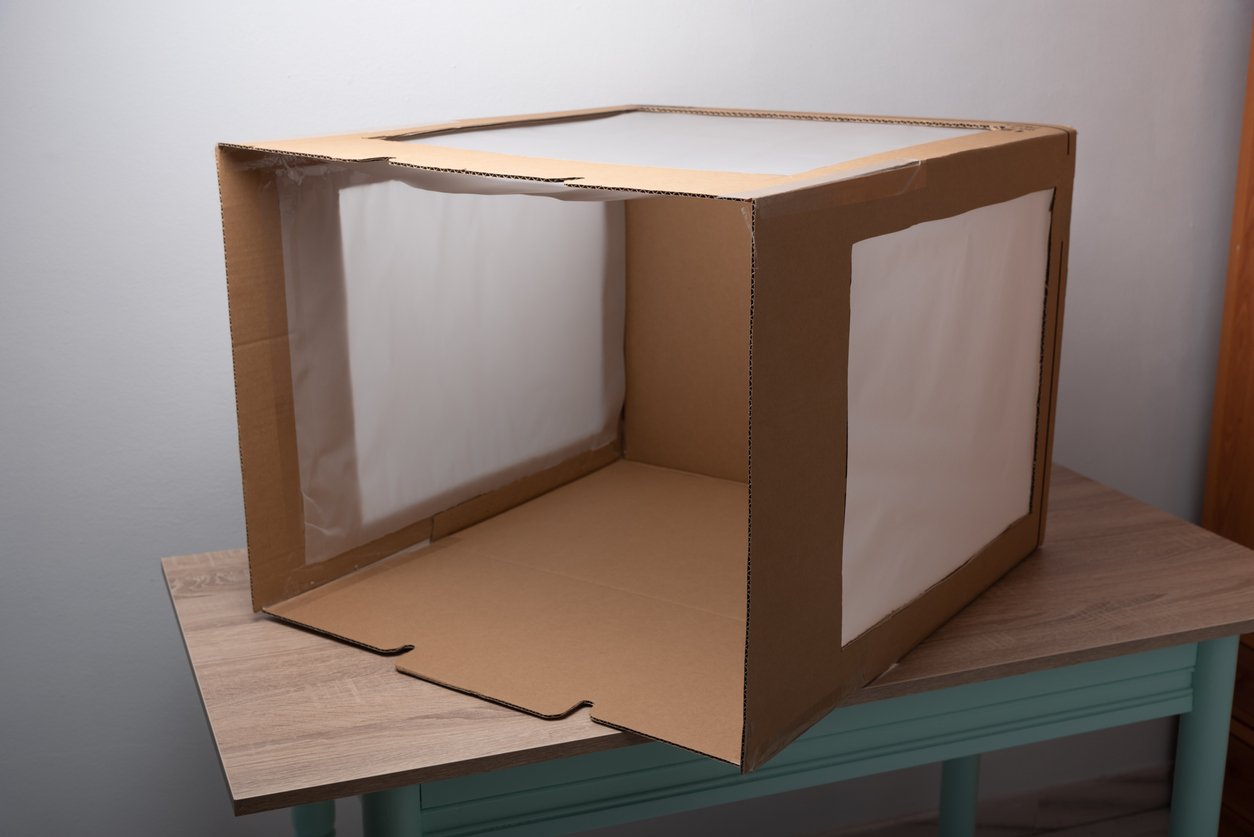
The tracing paper serves as a built-in softener for your lighting, so all you need to do is place lamps around the lightbox and add a white, curved backdrop and surface to the inside of the box. If you only have one lamp, you can still make a lightbox work by attaching a white reflector surface on the inside rather than one of the tracing paper side panels. White posterboard from an arts and crafts or office supply store would work fine for both the reflector and the backdrop, and costs very little.
Now, let's take a look at cameras for product photography.
Understanding Your Camera
Now we’ll discuss the surprisingly simple requirements for the camera you use to take your product photos.
If you own a DSLR camera or it’s within your budget to purchase one, great! If not, most recent smartphones or tablets are fine. However, keep the following in mind:
- Handheld photography doesn’t cut it with product photos, so you’ll need to attach your device to a tripod.
- You’re going for consistency, and part of that is always shooting with the camera in the same place every time.
These are both potential arguments against smartphones, as they’re not always easy to operate from a tripod and you’ll need to reattach the phone every time you’re ready to shoot more photos. In the long run, a camera may be worth the investment.
Regardless of what type of device you use, the main requirement is the ability to manually adjust exposure settings.
Exposure can be summed up as aperture, shutter speed, and ISO speed. All three affect your image in different ways, at the same time affecting the other two out of the three settings. Finding the right aperture, ISO, and shutter settings is a big trade-off for photographers, which is why it’s so tempting to let the camera use its automatic settings.
But by choosing these settings manually, you’ll vastly improve your product photos, so let’s explain what they are.
Aperture
Aperture (also called F-stop) controls how much light enters the camera, much like the pupil of an eye. This controls the depth of field, an effect which determines how much of the image is in focus, and how much is blurry. The higher the depth of field, the more of the image will be in focus. For products, you want the highest aperture setting possible.
Shutter Speed
Shutter speed controls how long the camera sensor is exposed to light. When photographing a moving subject, low shutter speed results in motion blur as the shutter is open longer. For motionless subjects, low shutter speed is ideal as it allows for extremely sharp images. However, any movement will spoil the shot, including movement of your hands, which is why shooting from a tripod is highly recommended. If you don’t need to worry about even the tiniest movement while the shutter is open, you can take long exposures and get super-sharp images.
ISO Speed
ISO controls your camera’s sensitivity to light, and therefore affects the brightness of the image. It also affects the graininess of a photo. The lower the ISO setting is, the longer it takes to capture an image and the darker the image will be. But higher ISO speeds introduce noise to the photo, which is bad for product photos. For product images, you want the lowest ISO speed possible so as to prevent graininess but not so low that your images come out too dark. The strength of your lighting should allow you to take photos with low ISO speeds.
As long as you can manually configure these three exposure settings, and keep them the same to ensure consistency in your photos, your device is fine for product photos. Just keep in mind the importance of a tripod for best results, and remember to mark its position with tape as well.
Taking Your Product Photos
Once you’ve set up your studio and camera according to the guidelines above, you’re almost ready to take your first product photos! There are just a couple more steps you should take to ensure the final photography goes as smoothly as possible: preparing your products and taking test photos. These steps will save you time in the long run and give you better results.
Organizing and Preparing Products for Photography
Product photography is best done by taking a systematic approach that will keep your inventory organized. The degree of organization you’ll need to do will somewhat depend on the number of products and variants you have, but certain steps must still be taken.
The point of preparing your products is to ensure that you know exactly which product number and photo applies to which physical item. This is especially important if you have a large number of products that are very similar. You need to know which product this great photo belongs to!
Product organization can be achieved in several ways, such as keeping products in labeled boxes or attaching small informational tags to them when possible. Tags or labels should include identifying information like product number, name, model, size, and whatever else is applicable. If you do use tags or labels, they must not be visible in the photos, so removable tags may work best.
Overall, the point is to arrange and catalog your products so you’ll know immediately which product, number, and photos go together. Your exact method for doing this will vary depending on the size and number of your products and the size of your work area. Your own favorite organizational preferences are important too — the most important thing is that your system is accurate and works for you.
You also need to prepare each product for its big moment in the spotlight. All obscuring tags or packaging should be removed, and be sure to inspect all products for even the tiniest defect. It’s important to use the best possible example of a particular item in the photo representing that product. Remember, you’re going to be taking high-definition photos in which even minuscule defects will be visible.
Needless to say, everything must be clean as well. Dust particles show up in high-resolution photos just as obviously as defects do. Products should be in the best condition possible, so you may need to do some cleaning, polishing, ironing, or other tasks. With some products, you’ll need to do these preparations immediately before photographing them, e.g. shirts that will wrinkle again if placed back into storage. Some products, however, can be cleaned and prepared ahead of time and will be fine as long as they’re kept dust-free.
Remember that the better your products look, the more you’ll sell. Think of these photos as the job interview of a lifetime for your products!
Taking Test Photos
It’s time to test your photography studio setup by taking a few test photos. The purpose of this step is to ensure that your studio setup is ideal for capturing great pictures of all your products.
Your first images will be an experiment to help you find the best positioning of the camera, product, lamp, reflector, and everything else. Don’t be afraid to take several photos at once. If possible, connect your camera directly to a computer so you can send the photos directly to image capturing software like Adobe Lightroom. This makes it much easier to compare them on the fly.
This experimental phase is the time for moving studio elements and adjusting camera settings to get the best possible images. It’s important to do this now, and not while in the middle of shooting all the products for your online store. Too much change in the middle of the process will harm the consistency we’re trying to preserve.
While taking test photos, use a variety of products with different properties. Bright and dark colors, large and small objects, and other variables will help you identify weaknesses in your studio setup. For example, you might discover that your lighting arrangement causes a distracting reflection on a shiny product, which you wouldn’t have seen on a product with a matte finish.
Make adjustments with the goal in mind of arranging your backdrop, lighting, camera, and other elements to take equally great pictures of all types of products. Adjust your camera settings as described earlier and fine-tune each setting until you’re able to take sharp, clear, perfectly lit photos of a variety of items.
Final Product Photos
Once you have your studio and camera setup locked down, you’re ready to take your photos! Arrange the product so it looks good and mimics the position it would be in while being used. For example, when photographing a pair of shoes that tend to collapse a bit when not being worn, stuff paper inside them to help them hold their shape. If using a mannequin, adjust articles of clothing so their fit looks natural.
For some items, you may need to use props to hold them up or help maintain their shape. If these props are visible in the photos, you’ll need to remove them during post-production. To make this step easier, use props that are transparent or the same color as your backdrop (preferably white).
While photographing your products, remember to take pictures from multiple angles as appropriate, to meet the objectives we covered earlier. When changing the photo angle, move the product, not the camera.
Saving Images
When you save your photos, your image software should allow you to name the files to match the appropriate product information. Make sure you save and organize your files accordingly to ensure a smooth upload.
Optimizing Your Product Photos
When you hear about “optimizing” product photos, you can interpret it two different ways depending on how familiar you are with digital photography and images. You might think optimization means a technique for taking the best types of photos for your eCommerce website. You might also think optimization refers to technical aspects that get your images ready for the internet, even if you don’t know much about them.
Both are correct, as both are types of optimization, although in very different ways. We’ll cover both in this section of the guide.
What Are the Best Types of Product Photos for an Online Store?
Earlier, we discussed the advantages of photography that isolates your products on a white background. We also briefly mentioned that you should take multiple photos of each product displaying it from different angles. But how many angles are necessary, and which ones? What other kinds of photos should you take? Let’s address these questions!
Product Photos from Multiple Angles
Generally, a front, back, and side view are sufficient, but you may want to expand upon these to provide more detail and to make your products more enticing. Some products lend themselves well to 3/4-view photos, while others don’t need them. For example, a 3/4-view photo of a pair of shoes provides the type of additional information some customers are looking for, as they seek to picture themselves wearing the shoes and imagine how they’d look from different angles. But a 3/4-view image of a product like a wall poster would be pointless. In fact, you’d never need to show a poster from any angle except the front, unless it came with a built-in hanging apparatus on the back. In that case, customers would want to see it.
How about side views? Is one side view enough? Yes, unless the other side of the product is different from that shown in your first side-view photo. Shoes are another good example of this, especially sneakers which are often quite different on the arch of the foot versus the outside. This is why, for shoes and other paired items, you’ll want to take photos of one alone as well as of the whole pair.
Ultimately, use your common sense when it comes to taking different-angled product photos. If displaying the product at a certain angle will either (1) expose more detail about the product, or (2) make the product look dynamic and interesting, or both, then take a product photo from that angle. Both are likely to increase sales.
Lifestyle Photos
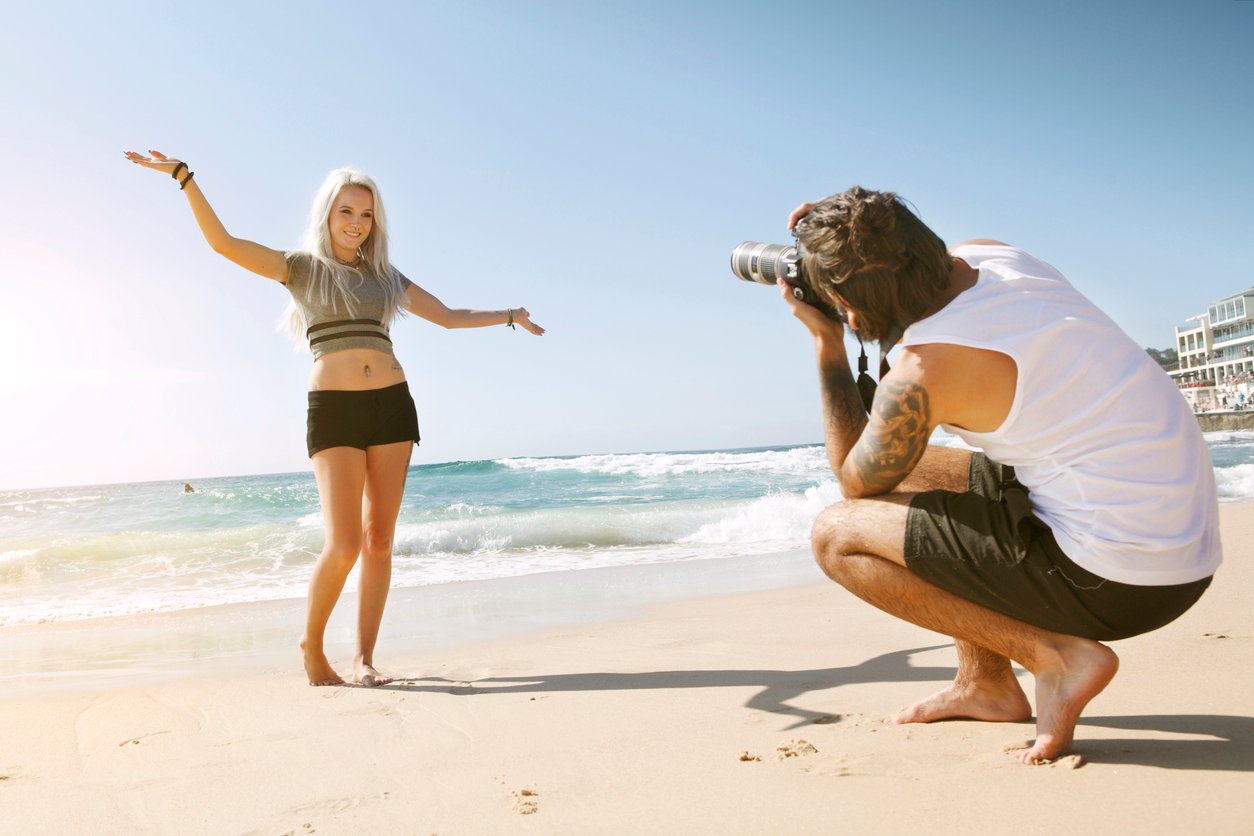
Lifestyle photos are the exception to the “plain white background” rule. This type of photo shows your product in use or in an example environment. For example, most apparel retailers include photos of models wearing the available products while engaged in typical activities, like shopping, walking outdoors, relaxing, or playing sports. These photos can be seen in traditional apparel catalogs as well as online stores. The advantage of these photos is that they make it easy for the shopper to put themselves in the model’s position, using your products in day-to-day life.
A lifestyle photo of a product in an environment helps customers understand how the product will fit into their own environment. Furniture, lamps and lighting, entertainment systems and more are all prime candidates for these types of photos. Another good example is the poster we mentioned earlier — while it may be true that a photo of the back of a poster would be useless, the same poster could benefit from being shown on a wall alongside other posters and typical décor.
Scale Photos
Scale photos help show the size of a product by displaying it next to other items. To properly take a scale photo, you need to compare your product with an item your customers are familiar with. Some sellers use coins or other common objects for scale, but never be afraid to use something as simple as a ruler. Remember, you don’t want customers to think the “scale item” is included with the product!
Scale photos can depict a product next to a scaling item with the typical white background, or they can overlap with lifestyle photos by showing your product in a room with other items. The latter method is usually more effective, although the first method might be necessary for very small products.
For very familiar types of products where size isn’t really in question, you can skip the scale photos, especially if you have lifestyle photos. Customers will be able to get enough information from your other photos of that product.
Which Photos to Include?
If you’re going to use lifestyle and/or scale photos on a product page, don’t skip the “regular” product photography. If you’re using a modern eCommerce platform like Shift4Shop to run your online store, you have plenty of room for product photos. Include a complete set of regular product photos from all the angles you deem necessary, along with any lifestyle and scale images. The overall effect of this collection of product photos is very powerful, as it helps customers form a complete image in their minds of what owning and using your product will be like.
Technical Optimizations for Product Photo Image Files
When you take photos with a camera, they’re likely to be in a large format like a BMP (bitmap), EXIF (exchangeable image file format), TIFF (tagged image file format), or RAW (literally a “raw” camera image file). While some graphics software will let you work directly with these image formats to do your background removal and other editing, once the photos are ready to add to your online store, you need to save your images into an appropriate format for use on the web.
First, you must understand the difference between a lossy file format and a lossless file format. “Lossy” formats have that name because they result in a loss of quality from the original, while lossless files do not. This loss can be invisible to the naked eye, but you should still be aware of it.
Repeatedly saving an image in lossy format will continue to reduce quality with each save. For example, some smartphones save images directly into .jpg format, but .jpg is a lossy file type. If you edit a .jpg image directly and save it as a .jpg again, you’ll lose quality each time you do this. You can get around this issue in the following way:
- Open the .jpg you need to edit with graphics software like Photoshop. (We have a list of graphics software later in this tutorial.)
- Before you edit the .jpg, save a copy as a different format. In the case of Photoshop, this is a .psd file. Doing this will also give you access to all the graphics editing tools that you couldn’t normally use directly on a .jpg image.
- Perform all your edits in the .psd file (or other working format). While you do this, you can save your work freely without loss of quality.
- When your edits are complete, save your working file normally and then select “Save As…” or “Export” from the menu, and choose .jpg or another web-friendly format from the list.
If you need to edit .jpg files directly and you can’t save them as a working file type first, you can still avoid quality loss by saving your edited .jpg into a lossless format. A good choice for this is .png, as it provides lossless quality and is friendly for display on web pages.
Creating Internet-Friendly Image Files
The .jpg and .png formats are both perfect for use on the internet. Since .jpg is a lossy format, it results in smaller file sizes — and if you’re careful, you won’t lose too much quality. The .png format is much newer, lossless, and also supports more image data including transparency. File sizes are larger than with .jpg, but rarely large enough to cause problems.
Regardless of whether you save your files in .jpg or .png, you need to take a few additional steps to make them web-friendly. These involve optimizing the size and resolution to appear on a computer screen or other device.
Image size is measured in pixels, such as 1200×800 (an image 1200 pixels wide by 800 pixels tall). Resolution is measured in pixels per inch (ppi). Both affect the size of the image as it appears on your screen, and the speed at which the image is loaded and displayed. Large, high-resolution images enable close viewing of tiny details, but can also drag your website’s loading speed down to intolerable levels.
People who are familiar with the process for printing images are often likely to overestimate the resolution online images need to be. Print resolution is usually 300 dpi (dots per inch — like ppi for printers), but a 300 ppi image is unnecessarily large for a computer display. 72 ppi is the ideal resolution for online images, no matter their size.
The process of changing an image’s size in pixels is called resizing while the process of changing the ppi resolution is called resampling. Nearly all graphics programs allow you to resize and resample images, often in the same menu. You’ll be able to choose your desired image size and resolution together by entering the target numbers into text fields, but check that changing one option doesn’t change the other. If this happens, just change them in a different order. Resampling settings are usually found in the same menu as resizing settings, so you’ll be able to adjust both at the same time.
When changing image size, you’ll also see a check box to lock or preserve the aspect ratio, which means you only have to change one of the image’s dimensions and the other will automatically resize to keep the image in proportion. If you don’t lock the aspect ratio, you can end up with a stretched or squashed image.
So now that you know how to change them, what’s the best image size and resolution for your online store? As we mentioned, 72 ppi is the best resolution. As far as pixel size, for regular product photos, keep the image’s longest dimension between 600 and 800 pixels. There are occasional exceptions to this image size, such as uploading larger images to allow customers to zoom closely into your product photos, if your eCommerce software supports image zoom.
With some software, you may need to enter your desired size and resolution in a specific order, as adjusting one may cause the other to change in the options panel. Just keep an eye out for this and fix the one that changed automatically before you confirm.
Depending on your eCommerce software, you may be able to skip part of the image resizing process. For example, Shift4Shop has an option to automatically resize images when you upload them, but you should still be familiar with the process and what it means.
Now, before you start saving your images for the web, you need to handle any editing first. We’ll discuss that next.
Post-Processing for Product Photos
Depending on the results of your product photography, you may want to do some editing with graphics software like Adobe Lightroom or Photoshop. This is referred to as post-processing.
If your lighting and preparations were good enough, you may not have to do much editing at all, but some fixes and enhancements are occasionally necessary. Before you start editing your photos, though, keep in mind that there are limits to what you can fix.
If you think a photo is going to take a lot of editing, it might be better to just retake the photos of that product anyway. In some cases, it will actually be faster to just take new photos. As you get more accustomed to product photography, you’ll develop an eye for what can be fixed in post-processing and what can’t.
When editing photos, always keep your original and save your changes to a copy. This will prevent you from needing to take the photo again if you make a mistake you can’t undo.
Color Correction for Product Photos
Sometimes the color of your item itself will cause changes to the background due to the light reflecting from the item. So a red purse might reflect red light onto your backdrop, making the whole image slightly pink. Small details, such as gold buttons, would also pick up a pink tint. In this case, you can use color correction to restore the colors to their natural appearance.
Color correction tools can be found in a wide variety of graphics software, including Adobe Lightroom and Photoshop, as well as free software like GIMP (GNU Image Manipulation Program). Online tools are available too, such as Clipping Magic, which can also handle background removal and drop shadows. Depending on the photo editing software used, you may have access to automatic color correction or be able to make manual adjustments with sliders.
By the way, GIMP and Clipping Magic are just a couple of examples of tools you can use to edit your photos. Later in this guide, we’ll list a variety of other tools and software that you might prefer to use instead.
If you’ve set up your studio well, fully tested your lighting, and finalized your camera settings with practice photographs, you’re not likely to have to do a lot of color correcting on your final photos. It will probably only be necessary for certain products of certain colors. Brighter colors and shinier surfaces have a greater chance of tinting your image and requiring correction.
Background Removal
The vast majority of product photographers prefer to cut every item out of its background, even when the background is already nearly invisible. The benefits of this approach include reduced file size and greater image consistency.
Background removal can be done with the same software as color correction. The previously mentioned Clipping Magic online tool has background removal as its main feature. No matter what program you use to remove your backgrounds, look into the settings for ensuring you get a realistic edge on your product.
Depending on the software you use, look for a setting or process called anti-aliasing or feathering. These two methods work a little differently. In Adobe software, anti-aliasing preserves the most detail near the edges because it works by adjusting the color transition around the edge of the object, while feathering smooths edges by blurring them slightly. Other software and tools may use different names for these processes, like simply “smoothing.”
Since background removal can be hard to get right, we also cover it more in depth later in this guide. If you’re concerned about your ability to remove backgrounds, the additional information might help you.
You’ll also want to crop your photos to maintain a consistent size and shape so they line up properly on your product pages. This is especially important when you have multiple images of similar products next to each other, where an inconsistent size will give your page a messy appearance.
Drop Shadows
After removing the background you’ll want to add a shadow back underneath the item. This may seem a little counterintuitive at first, since you just went out of your way to cut all but your product out of the picture, but product images with shadows tend to sell more than products with images where the item appears to be floating in space. Shadows add depth and make the product look “real,” and customers are less likely to buy a product they can’t see as “real.” For product photos, computer-generated drop shadows are also better than real shadows because you have more control over how they look.
To add drop shadows, you can usually use the same software or online tools you use for color correction and background removal. You have a few options as to how you do this. You can add a simple, plain grey shadow directly beneath the item, or create a subtle reflection effect. Both serve to ground your product and add realistic weight to it.
You can also combine the two techniques and create both a shadow and a reflection. Keep it subtle so as to keep the attention on the product itself.
Retouching Product Photos
Occasionally you may notice a small imperfection in one of your product photos, like a piece of dust you missed during preparations. You can use graphics software to remove these imperfections.
For example, Adobe Photoshop provides you with a number of tools that can retouch imperfections in different ways. The clone stamp tool lets you select a part of your image and then “paint” onto another part of your image with your clone selection as a brush. This is very handy for covering imperfections that are near edges.
The patch tool is another useful Photoshop tool that works in a similar way to the clone stamp, but instead lets you create a selection to be blended over another area. Since the patch tool uses blending, it’s better for smooth surfaces.
Both of these tools take a little practice to get right, but once you’re familiar with them, you can fix any imperfections in your photos.
When you’ve completed all your necessary post-production, it’s finally time to optimize your photos for use on your online store. The image files you’ve been working with are far too large to use on your website, so it’s time to adjust their size and resolution as we explained earlier.
Now, let’s take a closer look at how to remove backgrounds from your photos.
How to Remove Backgrounds from Your Product Photographs
It’s very popular among eCommerce merchants to remove the backgrounds from all their product photographs. Even though great product photography has a neutral background to begin with, cutting out the background has several benefits. Removing the background from product photos results in:
- Smaller file size
- Better consistency between images
- No distractions from the product (not even subtle ones)
- Ability to replace background with something else
- A more professional look
- A better appearance on mobile
It’s also worth mentioning that some online marketplaces, like Amazon, require your products to be displayed on a plain white background. If you’re going to sell on Amazon or another marketplace that has this requirement, the best way to prepare your images is to remove the background completely.
This section of the guide will explain everything about removing backgrounds from your photos using popular tools like Adobe Photoshop, GIMP, Paint.Net, and more. Before we go into the specifics of how to remove the backgrounds from your images, let’s go over some basics.
Preserving Your Product’s Edges
When removing the background from a product photo, you want to erase the background completely without harming the edges of the product. There are two main ways you can get the edges wrong: you can accidentally leave a thin line of background around the edges, or you can erase too much and end up cutting into the product. To better understand the tools you use to remove the backgrounds, you should understand how these mistakes can happen.
Removing backgrounds can be hard when the product has any small ends or points, especially if there are a lot of them, like feathers or hair. If parts of the product appear to fade out, whether due to the product having some translucency or because of a glare from the lighting, you can have problems finding the actual edge of the product in the photo. Both of these issues can result in difficulties removing the background without taking too much, or too little of it away.
Earlier, we explained how to set up your product photography studio and how to take pictures of your products. We focused on how to set up a very smooth background for your images because smooth, plain backgrounds are much easier to remove. If you have trouble removing backgrounds from some of your photos because of problems like camera glare or reflections that make an edge hard to see, consider retaking the photos of that product using softer lighting.
As you work on removing backgrounds from your images, you may need to try a few times before it looks right. Most of the available tools have settings that can be adjusted to help avoid problems with the edges. Be ready to hit “Undo” and change a setting or two before trying again. Like we said before, always work with a copy of your image so you can start again from the beginning if you need to.
Understanding the Tools for Background Removal
There are many apps and online editors you can use to remove backgrounds, but almost all of them have some features in common. We’ll go over these so you know what to look for no matter which image editor you use. In fact, knowledge of these common tools will make it easier for you to choose an editing app that works best for you and your products.
The Magic Wand Tool
The most common way to remove a background in a product image is to select it and delete it all at once, and then use a more precise tool for touch-ups in small areas. The tool used to select the background can vary, but is most commonly the Magic Wand tool. Tools may have different names across programs, but work in similar ways — for example, if using GIMP, the Magic Wand tool is called the Fuzzy Select tool.
The Magic Wand tool creates a selection based on color similarity, so if you click it in the middle of a field of white, it will select all the white. There are a few settings you can change to alter how precisely the Magic Wand tool selects a color, although these settings may not be available in all image editors (or may have different names).
- Tolerance affects the level of similarity a color needs to be included in the selection. If we’re still assuming you’re using it to remove a white background, low tolerance will be very strict at selecting only the exact shade of white as the pixel you click the tool on. A higher tolerance will allow for more difference, so the selection can also include light or medium grey shadows. If the tolerance is too high, you’ll start to lose the edges of light-colored items.
- Contiguous is a setting that determines whether or not the Magic Wand selects all the white in the image, or only the white directly touching the area where you clicked with the tool. If you have a product photo with several small background areas, unchecking Contiguous will allow you to select them all at once for deletion. This can be very handy in images featuring hair (such as photos that use models), products with lace, and similar images. However, if Contiguous is unchecked, the Magic Wand will also select instances of that color on the product itself, which you don’t want to delete.
By fine-tuning the tolerance setting, you can almost always create a selection that captures all the background and preserves the edges of your product. The Contiguous setting provides a useful shortcut when you need to remove the background from numerous contained areas, but its usage is more situational.
As an alternative to using the Contiguous setting, you can usually add more areas to your selection by holding Shift and clicking again in the next area you want to select. So, you could click the main white background with the Magic Wand tool, then Shift-click additional visible background areas to add them to the selection.
The Pen Tool
The Pen Tool is another useful tool found in nearly all graphics editors. It’s also called the Path Tool (in GIMP for example), because it doesn’t work exactly like a pen — what it does is allow you to draw a vector path which you can then use in multiple ways, including making a selection. A vector path doesn’t take individual pixels into account, which gives you more freedom as to where you place it.
Drawing a path isn’t freehand. Instead, you place anchor points along where you want the path to be. When drawing a path around the edges of a product, do it just inside the edges — not right on them or outside of them. This is much easier if you zoom in.
Once you’ve drawn your path, you can convert it to a selection. At first, your product will be selected instead of the background, and you don’t want to delete your product! Instead, choose Invert Selection from the menu, and the background will be selected instead. The reason you draw your path just inside the edges is to compensate for inverting the selection — slightly “too tight” edges will become just the right size. You can then delete the background.
The Pen Tool has a built-in feature for creating smoothly curved paths, too. With a little practice, you can draw a complete outline around any product while preserving the natural edges. Just make sure you’ve selected the path functionality from the Pen Tool’s options.
The Pen Tool, and paths in general, are a little challenging to master but extremely powerful. Skilled use of the Pen Tool usually results in the most professional-looking images possible. Click here for a more in-depth Pen Tool lesson.
The Eraser Tool
The Eraser tool is just that: an eraser. You can use it for fine-tuning your edges, with better results if you zoom in to work with precision. It’s not recommended to use the Eraser tool on the entire background, simply because it takes too long.
Almost every single image editor, no matter how simple, includes the Eraser. It’s a much more basic editing tool.
Other Selection Settings
The best way to get rid of backgrounds involves using selections, regardless of whether you’re using the Magic Wand, the Pen Tool, or another selection tool. Here’s a little more information regarding selections and the settings you can change to get more natural edges.
We’ve discussed the Tolerance and Contiguous settings for the Magic Wand tool, but almost every selection tool has a couple of other settings you can adjust. These affect the realism of the edges left behind when you delete the background. If the edges are too sharp, the product will look unnatural. If the edges are too loose, there will be artifacts of the background around the outside of the image, which looks cheap.
As we briefly touched on earlier, the edge control settings in graphics programs are often called anti-aliasing, feathering, or smoothing. Anti-aliasing is the term for creating a realistic edge by basically copying some of the pixels at different transparencies to prevent jagged areas. Feathering applies a slight blur to the edges. Generally, anti-aliasing provides better, sharper results than feathering, but both can be useful on a case-by-case basis. Smoothing, on the other hand, is just the name some image editors use to refer to either of these techniques, so you may have to look closer to determine whether anti-aliasing or feathering is used.
What Happens When You Delete the Background?
Deleting the background from an image, whether you use a selection tool, the eraser, or both, will have different results depending on the software and settings you’re using.
For example, Adobe Photoshop gives you control over the background. You can choose a background color in the color picker tool, and that color will then be used whenever any part of the image is deleted or erased. Selecting white as the background color, and then deleting the background from your image, will get the results you need.
However, there’s another possible outcome when you delete backgrounds: transparency. You can delete the background and leave the image transparent around the product, instead of filling it with white. You can then place the product on top of a different background if you need to, like making a collage.
Different image editing programs have different procedures to create a transparent background. For example, in Photoshop, one method is to select New Layer from Background from the menu before you start work on the image. This turns the image into a layer on top of a transparent background that will show up when you erase, instead of the background color you chose in the color picker. Once the background is gone, and you’re ready to save a copy of the image to use on a website, save the file as a PNG to preserve the transparency.
An image with a transparent background has many uses, but some eCommerce platforms won’t display them correctly. For example, uploading a transparent PNG to Amazon will show a black background around the product, even though Amazon’s website has a white background. So, even if you need some product images with transparent backgrounds for different design uses, you still need the plain white background for use in your product pages or marketplace.
Getting both is very easy because you can create both versions at the same time. You’d first create the transparent version, and then place the white background behind it and do a “Save As” under a different file name to get the white version.
For example, here’s one way to do the whole process in Photoshop:
- Open your product photograph and save a working copy as a PSD file (this is Photoshop format and may be needed before you can use some of the tools).
- Select New Layer from Background from the menu.
- Delete the background using your favorite tools, whether the Magic Wand, Pen Tool, Eraser or a combination.
- You’ll now have a picture of your product floating on a transparent background. Save the PSD file.
- Click Save As (or Save for Web) and select PNG format. You now have a web-friendly product image with transparent background for use in other projects.
- Go back to the PSD file and select New Layer from the menu. You’ll now have a new layer on top of the layer with the product image.
- Fill this new layer with white using the Paint Bucket or other fill tool. Your product will disappear for a moment; don’t worry.
- Look in the Layers box which is usually to the right of your work area. You’ll see two layers: the white one, and the one with your product. You can rearrange their order in this box by dragging the product layer on top.
- Now you have a product image with a white background. Save your PSD file again.
- Using Save As or Save for Web, save your image in a web-friendly format such as PNG or JPG.
There are other methods for doing this, but you’d follow the same general steps in any software where you’re working with layers. This process also doesn’t take other edits into account, like cropping your image, so don’t forget to crop and size all your images for consistency.
It’s a good idea to save your PSD files with the transparent background and hang on to them for future use. You’ll be able to combine them or add other backgrounds if needed.
Now, let’s talk about the tools you can use to remove backgrounds and do the rest of your post-processing!
The Best Photo Editing Tools for Amazing Product Photos
We’ve compiled a list of tools you can use to make your product photos truly perfect, including something for every budget.
Before we jump into the list of photo editing tools, remember the purpose of post-processing is to create the best product photos possible. Your online store needs to look 100% professional in every way. Product photo editing is one means of making your business appear to be in the big leagues. Sure, you may have set up an amazing product photography studio, optimized your camera, and gotten great results just taking raw photos. But only with post-processing can you achieve completely consistent, truly perfect product photography.
The best online stores only use product photos that:
- Show all colors with true-to-life accuracy
- Have the background completely removed (even if it’s replaced with a color or different backdrop)
- Ground the product in space to make it look solid and real (through reflections or drop shadows, not necessary if the product is being worn by a model in the photo)
- Show the products as completely new, clean, and unblemished (retouching small flaws if necessary)
By applying these same techniques to your own product photos, you’ll improve the look of your online store, give customers a better idea of what they’re buying, and make your products more appealing overall.
Now, let’s look at your options!
Free Tools for Product Photo Editing
You don’t need to shell out massive amounts of cash to get great results editing your product photos. The following tools are all free, and quite capable of achieving the effects you need. Some of these free tools are software you can download to your computer, while others are online tools that let you perform your edits right in a browser window. Mobile apps are available too.
Take a look and choose one that works well for you. Since they’re free, you can try all these photo editing tools at no risk.
GNU Image Manipulation Program (GIMP)
 Type: Download
GIMP has been around for many years and is an industry favorite among anyone looking for a free, powerful alternative to Photoshop. GIMP has the highest feature count among all free graphics software and works on multiple operating systems, including Windows, OSX, and Linux. It’s open source and extremely customizable, through a huge options menu, third-party plugins, and even direct changes to the program itself. In short, you can do almost anything with GIMP.
GIMP does have a learning curve, but there are plenty of tutorials available on YouTube explaining everything from the simplest to the most advanced techniques.
Paint.NET
 Type: Download
Paint.NET is a very popular photo editor that’s less powerful, but much easier to use, than GIMP. And don’t write it off just because we’ve described it as “less powerful” — the fact is that for product photo editing, you may not need the tons of features GIMP includes. Paint.NET has all the capabilities you need for product photo editing, including color correction, brightness and contrast, retouching tools, and tools for background removal.
Adobe Photoshop Express
 Type: Download
Photoshop Express is a free app for iOS, Android, and Windows that combines some of the most demanded features from the full Photoshop software. It works great for retouching, fixing odd perspective problems, color correction, and more. It also has a collage feature that lets you combine images into an artistic arrangement, perfect for creating banners. Photoshop Express is one of the easiest ways to adjust color, brightness, and contrast on just about any device.
Pixlr
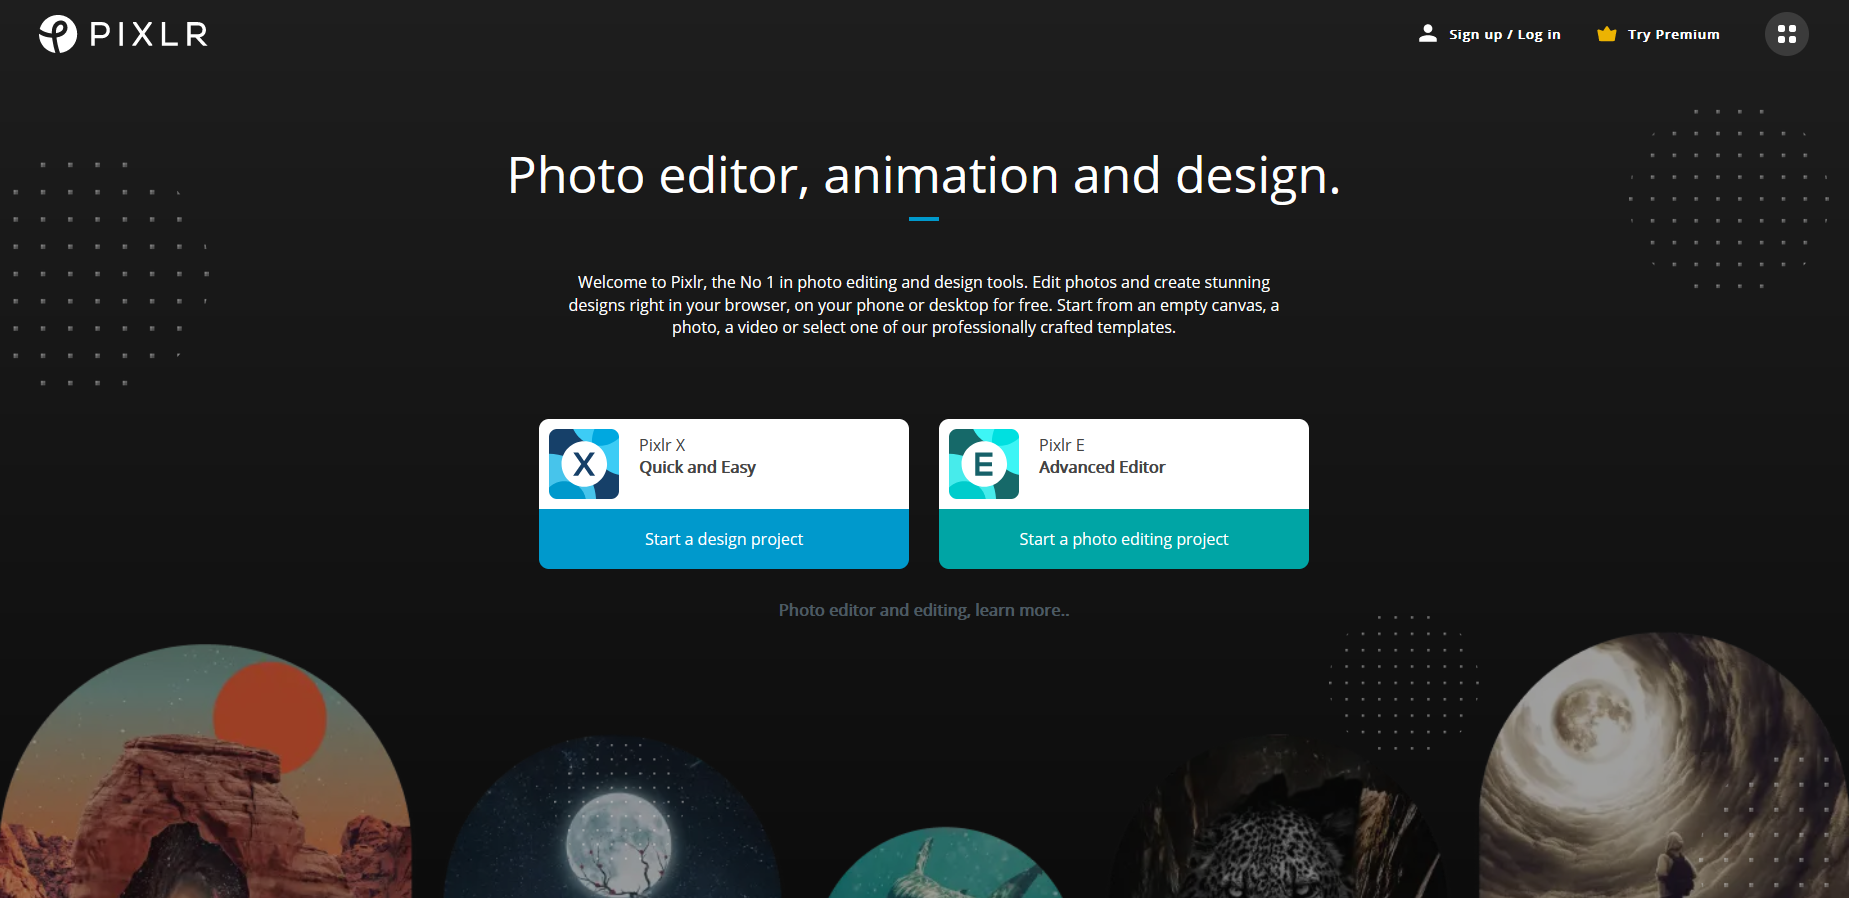 Type: Online editor with download available
Pixlr is a very popular photo editor and works great for eCommerce photos. You can make all the changes you need, including color correction, background removal, drop shadows and more, right from your browser window. You can also download an app for use on various devices. Pixlr also has a Pro plan for those willing to pay for additional functionality.
Photo Pos Pro
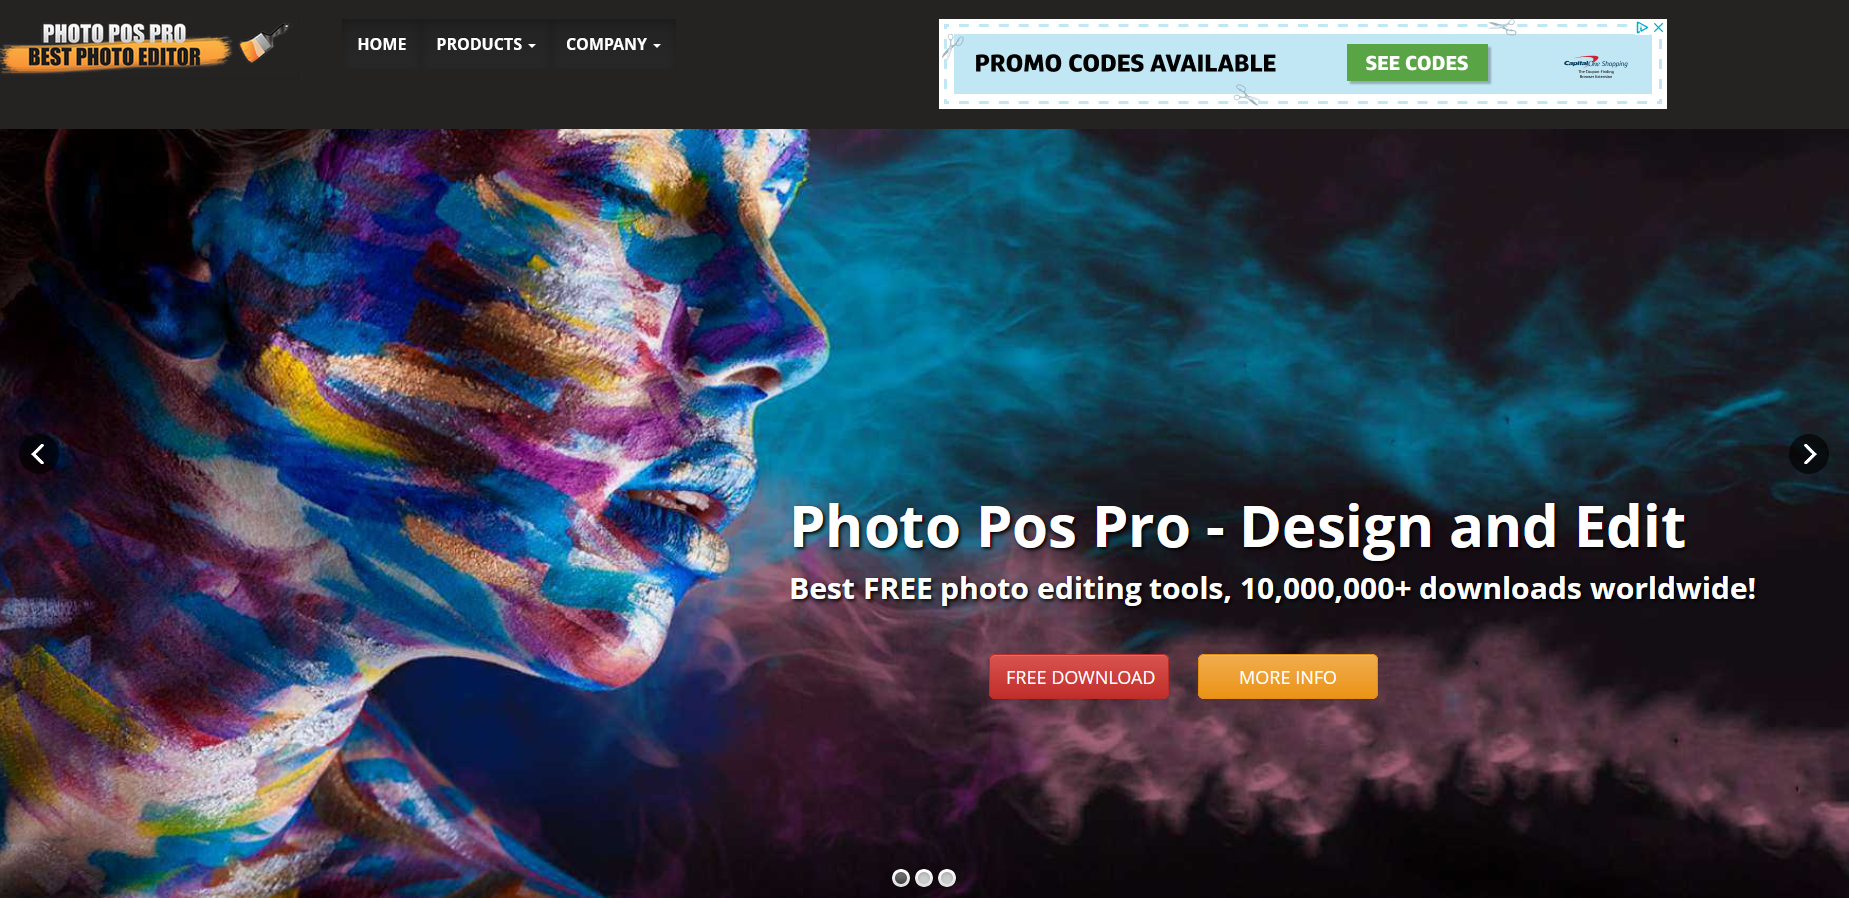 Type: Download
Photo Pos Pro is another robust, free photo editor that’s easier to use than GIMP, but more powerful than most other free editors. You can choose between a beginner or expert interface, and it’s overall more intuitive than GIMP. The program itself still takes a bit of time to learn, but the tools are excellent and work very well for what you need. The free version won’t let you save any files at a size larger than 1,024 x 2,014, but this is far bigger than you’d need for product photos anyway. If you want to remove this restriction and use Photo Pos Pro for bigger graphics, you’ll need to buy a license, but it’s very reasonably priced.
Other Free Photo Editing Tools
If you’ve taken a look through these and want to do a bit more exploring, there are plenty of other free photo editing tools that could be perfect for your online store’s needs. Check out Fotor for online in-browser editing, Snapseed for iOS or for Android, or PhotoScape for a beginner-oriented desktop program. A Google search will turn up many more.
Just look for the features you need the most: color correction, background removal, retouching, and drop shadows.
Paid Tools for Product Photo Editing
Sometimes free tools just aren’t going to cut it — that’s not to say they can’t be powerful, but paid tools often give you your money’s worth in editing capabilities and additional features that help smooth your workflow. The good news is that advanced, professional photo editing software isn’t nearly as expensive as it used to be. You’re not going to need to drop thousands of dollars, and in some cases you’ll be paying less than $10 per month.
Many of these tools have free trials, so you can test them out before you pay. Be aware that free trials often have restrictions, like only letting you edit a certain number of images or preventing you from downloading your results until you purchase a membership.
Adobe Photoshop
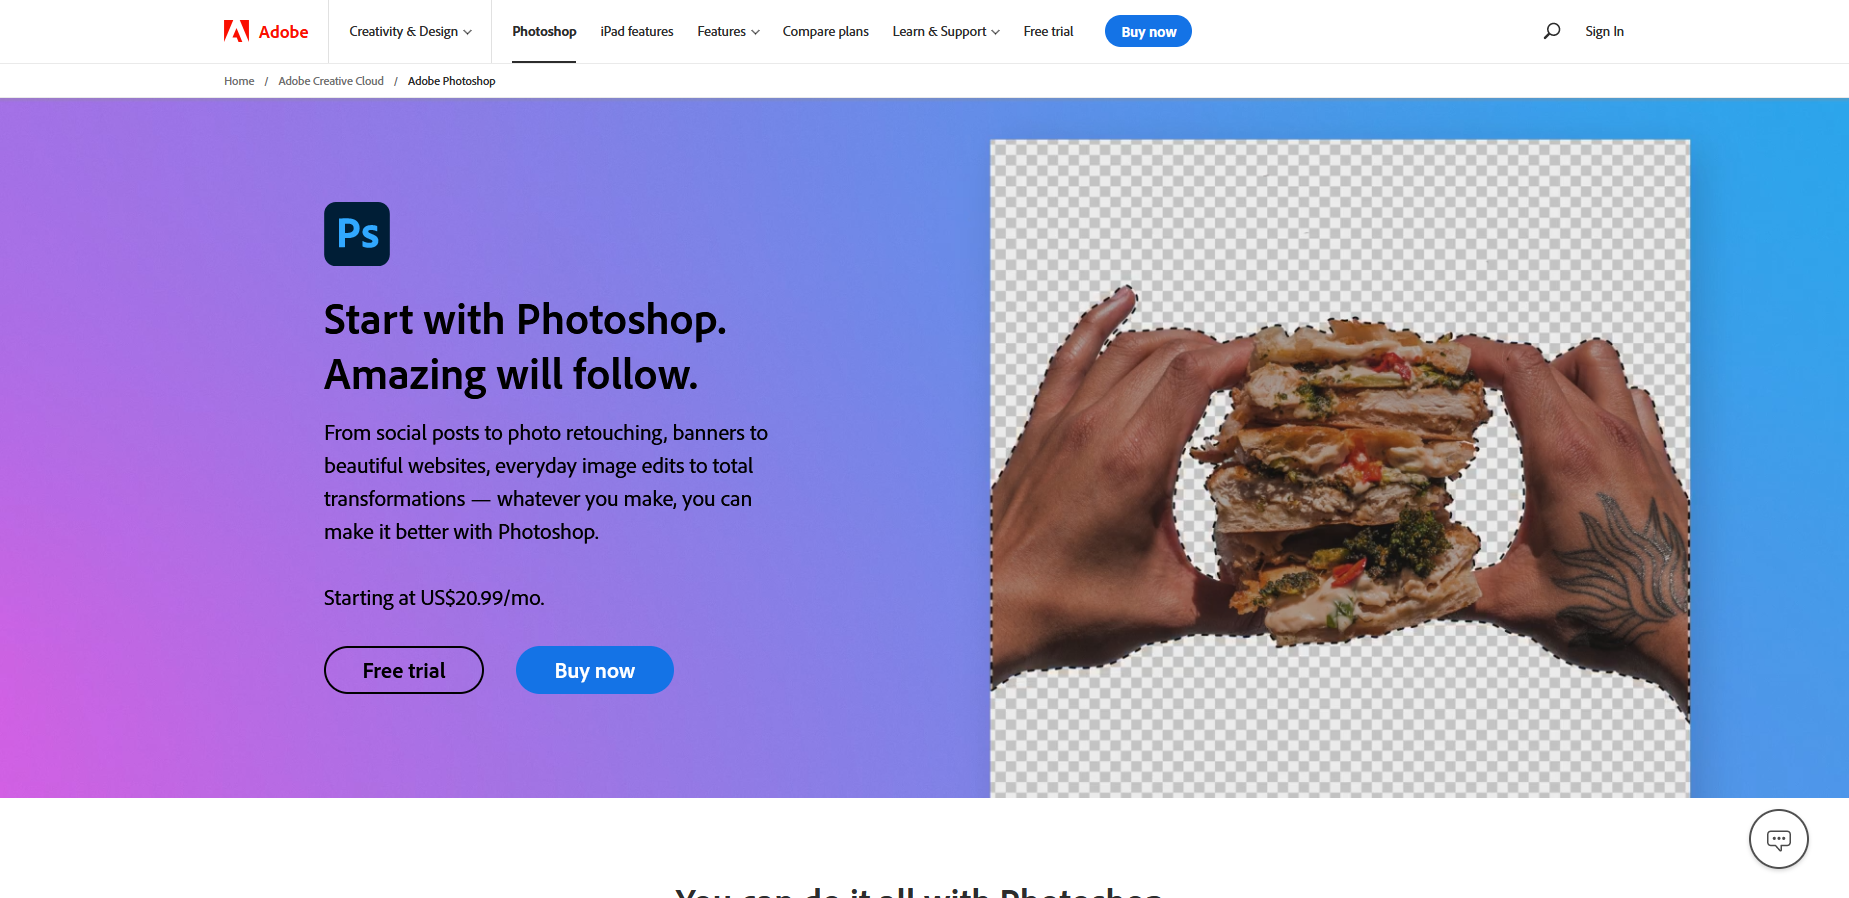 Type: Download
Adobe Photoshop is probably the most famous photo editing software available today. It comes with a massive feature set including everything you need for product photography, as well as additional tools for doing pretty much anything that you can imagine. Of course, this means a substantial learning curve, and you’re not likely to need all these tools. Still, Photoshop is incredibly powerful software and you can use it for a lot more than just product photos.
The pricing structure for Photoshop can be a bit confusing to the uninitiated. Most Adobe software is paid for via subscription, with plans for individual and multiple apps. The “full” version of Photoshop is officially called Photoshop CC, standing for Creative Cloud. Adobe’s Creative Cloud is a paid service that gives you access to your chosen apps along with multiple benefits, such as the ability to synchronize your settings across multiple devices so you can work on photos anywhere. Cloud storage is also available.
Basically, to get Photoshop, you’d sign up for a Creative Cloud “Single App” subscription which would give you access to Photoshop and the Creative Cloud benefits. Alternately, you could sign up for the CC “All Apps” subscription and get everything. However, there’s also a Photography Plan, which gives you Photoshop and Lightroom (described below) for a lower price than any other option. You get less cloud storage, but this is by far the most affordable way to get both of these highly-recommended programs.
There’s also Photoshop Elements, which strips down the Photoshop feature set somewhat but adds some excellent organizational capabilities. Photoshop Elements has all the functionality needed to correct and edit product photos and is available for a one-time fee.
Adobe Lightroom
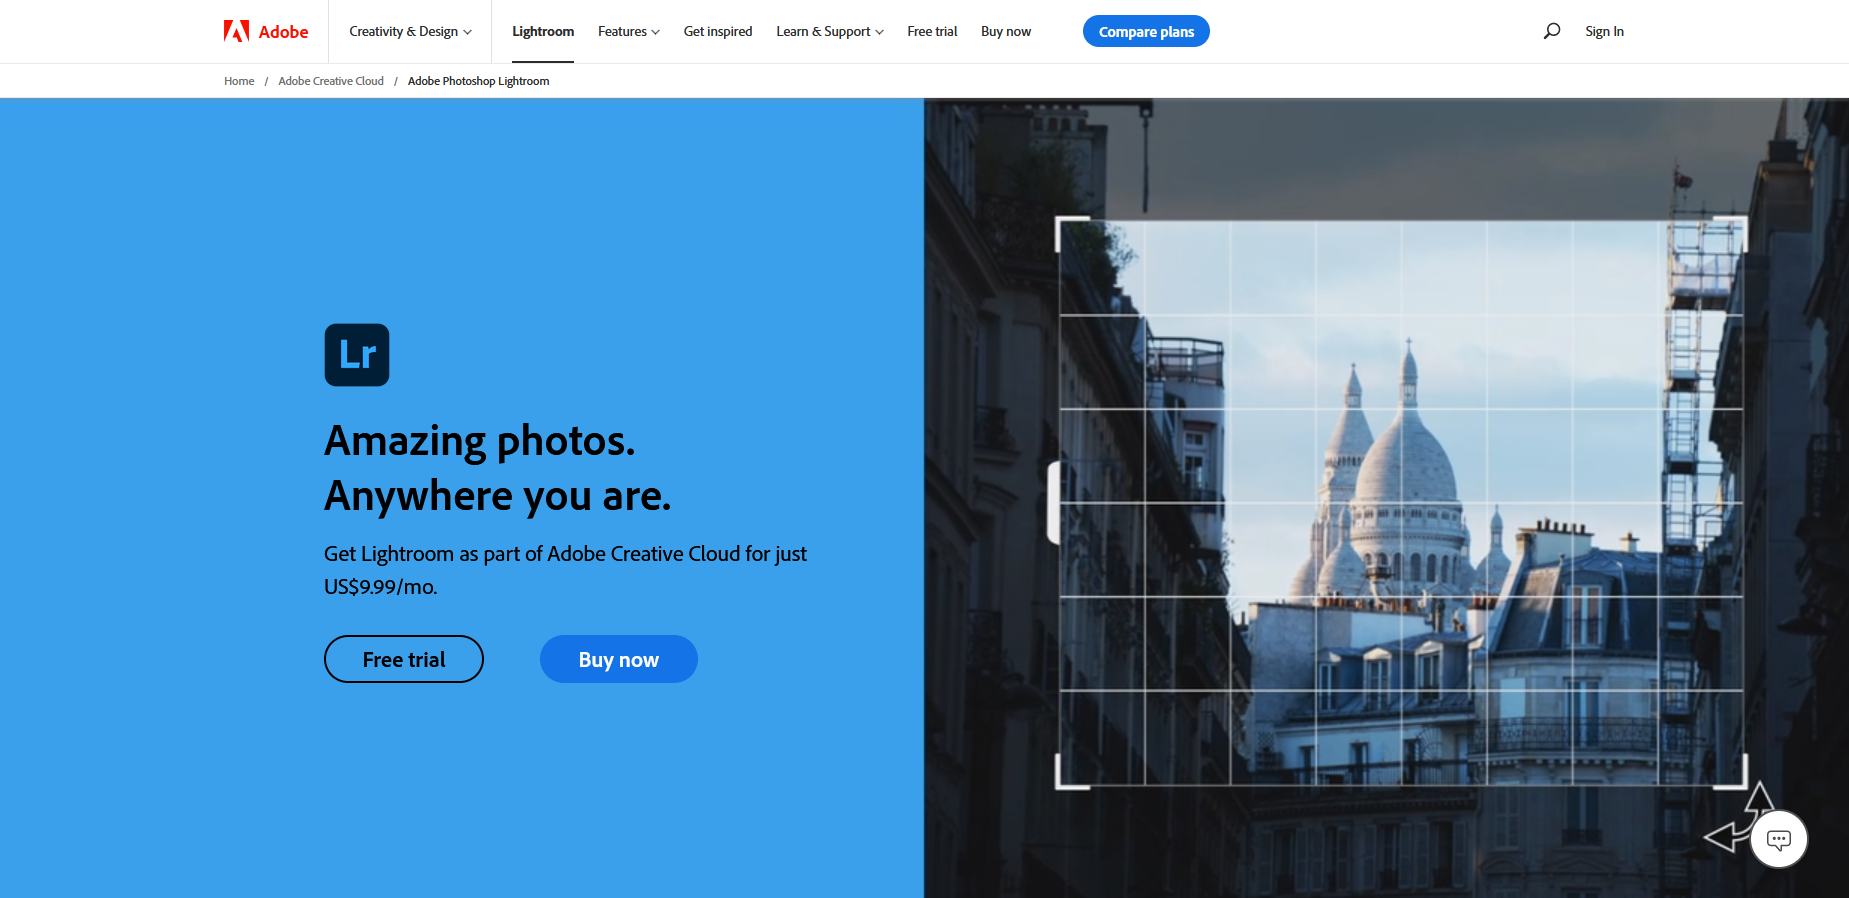 Type: Download
Lightroom is another Adobe Creative Cloud app that includes all the tools you need for post-processing your product photos, and adds powerful features like batch processing so you can edit multiple photos at once. It also has several advantages for organizing and cataloging your product photos. While you can subscribe to Lightroom by itself, your best bet is probably the Photography Plan unless you really need a terabyte of cloud storage — with the Photography Plan, you get Photoshop too for the same price, but with cloud storage limited to 20 GB.
Clipping Magic
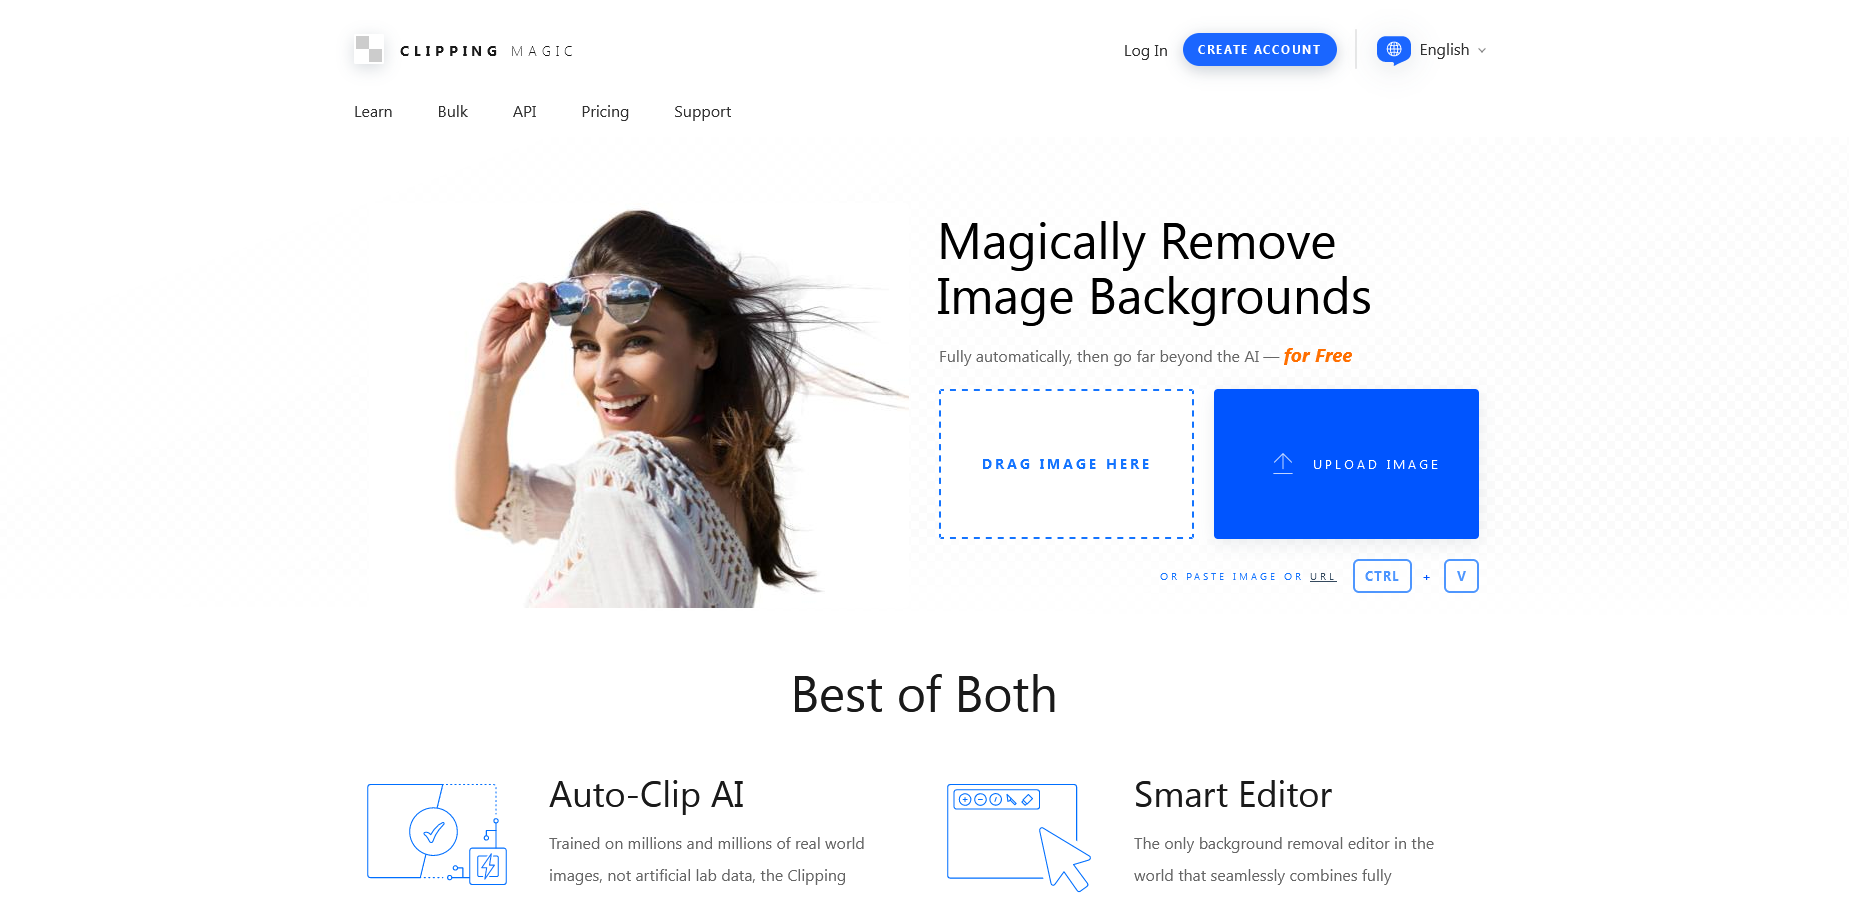 Type: Online editor
Clipping Magic is an affordable online tool that provides several editing features geared toward eCommerce and other commercial graphic design. It uses a smart tool for quick and accurate background removal, and has easy-to-use color correction and drop shadow/reflection tools. It also has an assortment of other tools perfect for product photos, including precision edge finding and bulk editing. It’s quite specialized, so if you don’t want to be distracted by the hundreds of features available in a program like Photoshop, Clipping Magic could be exactly what you need.
PicMonkey
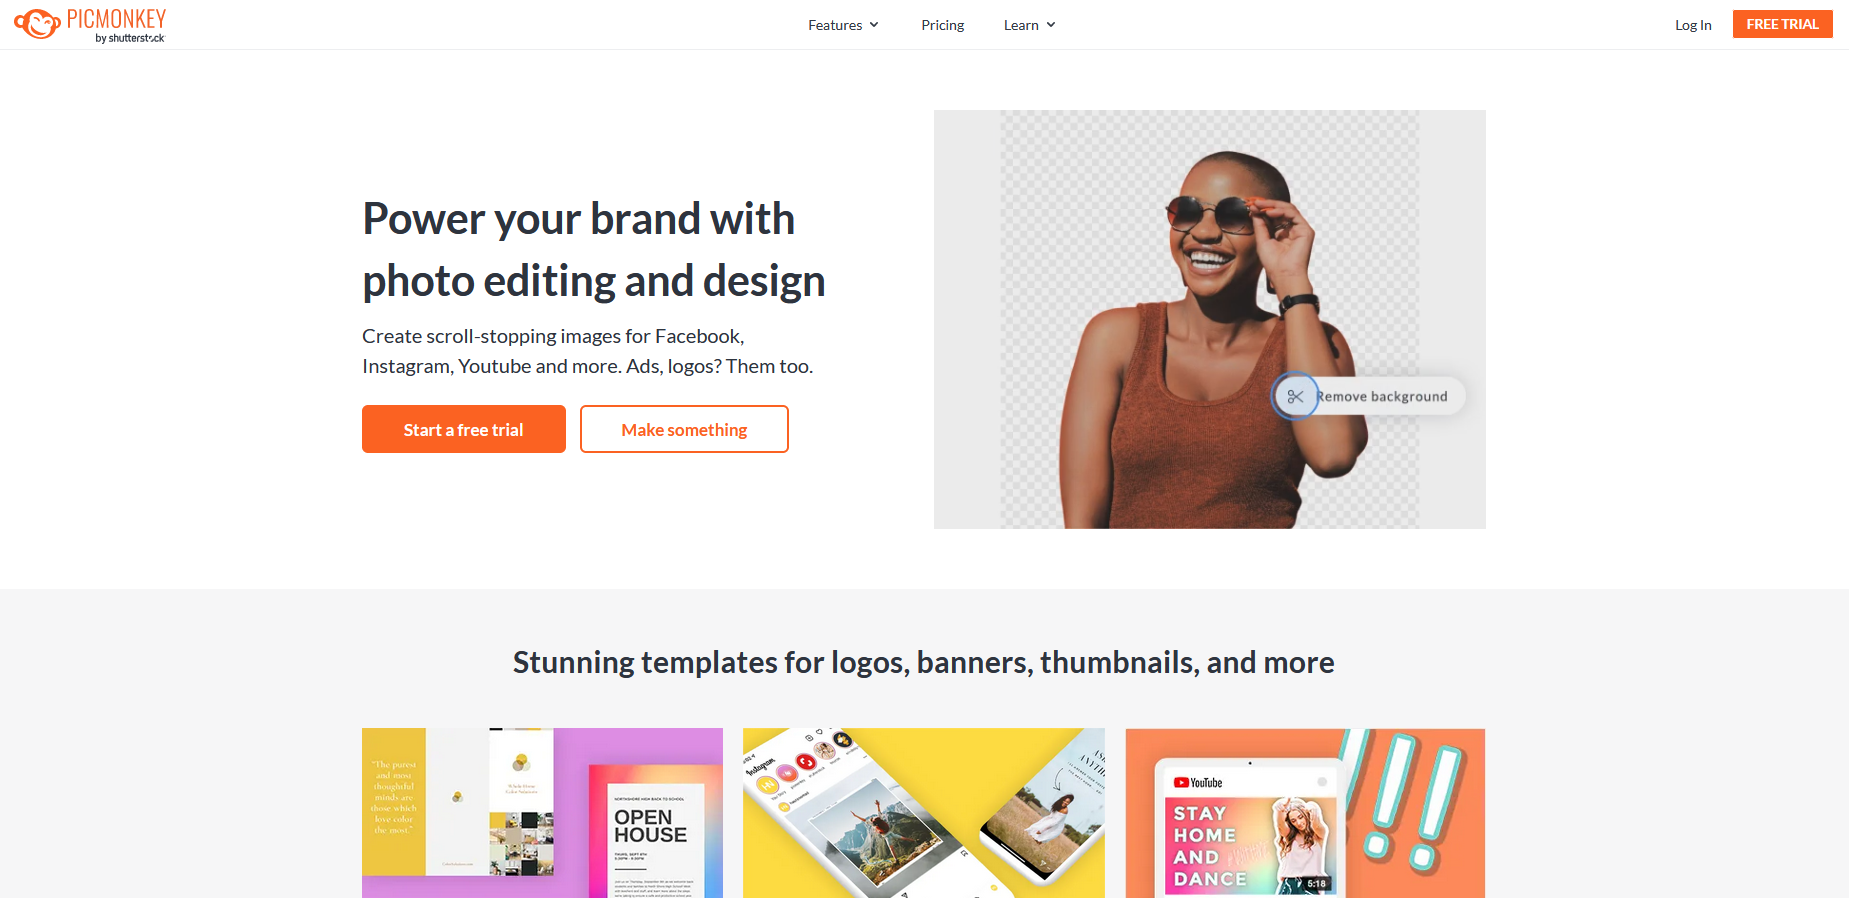 Type: Online editor with download available
PicMonkey is a multipurpose photo editor that works in your desktop browser, or you can download an app for Android and iOS. It comes with a large suite of editing and retouching tools perfect for eCommerce. PicMonkey also has numerous special effects and filters you can use, as well as a collage feature for combining images into banners. The pricing is fairly low, with three plans available.
PortraitPro
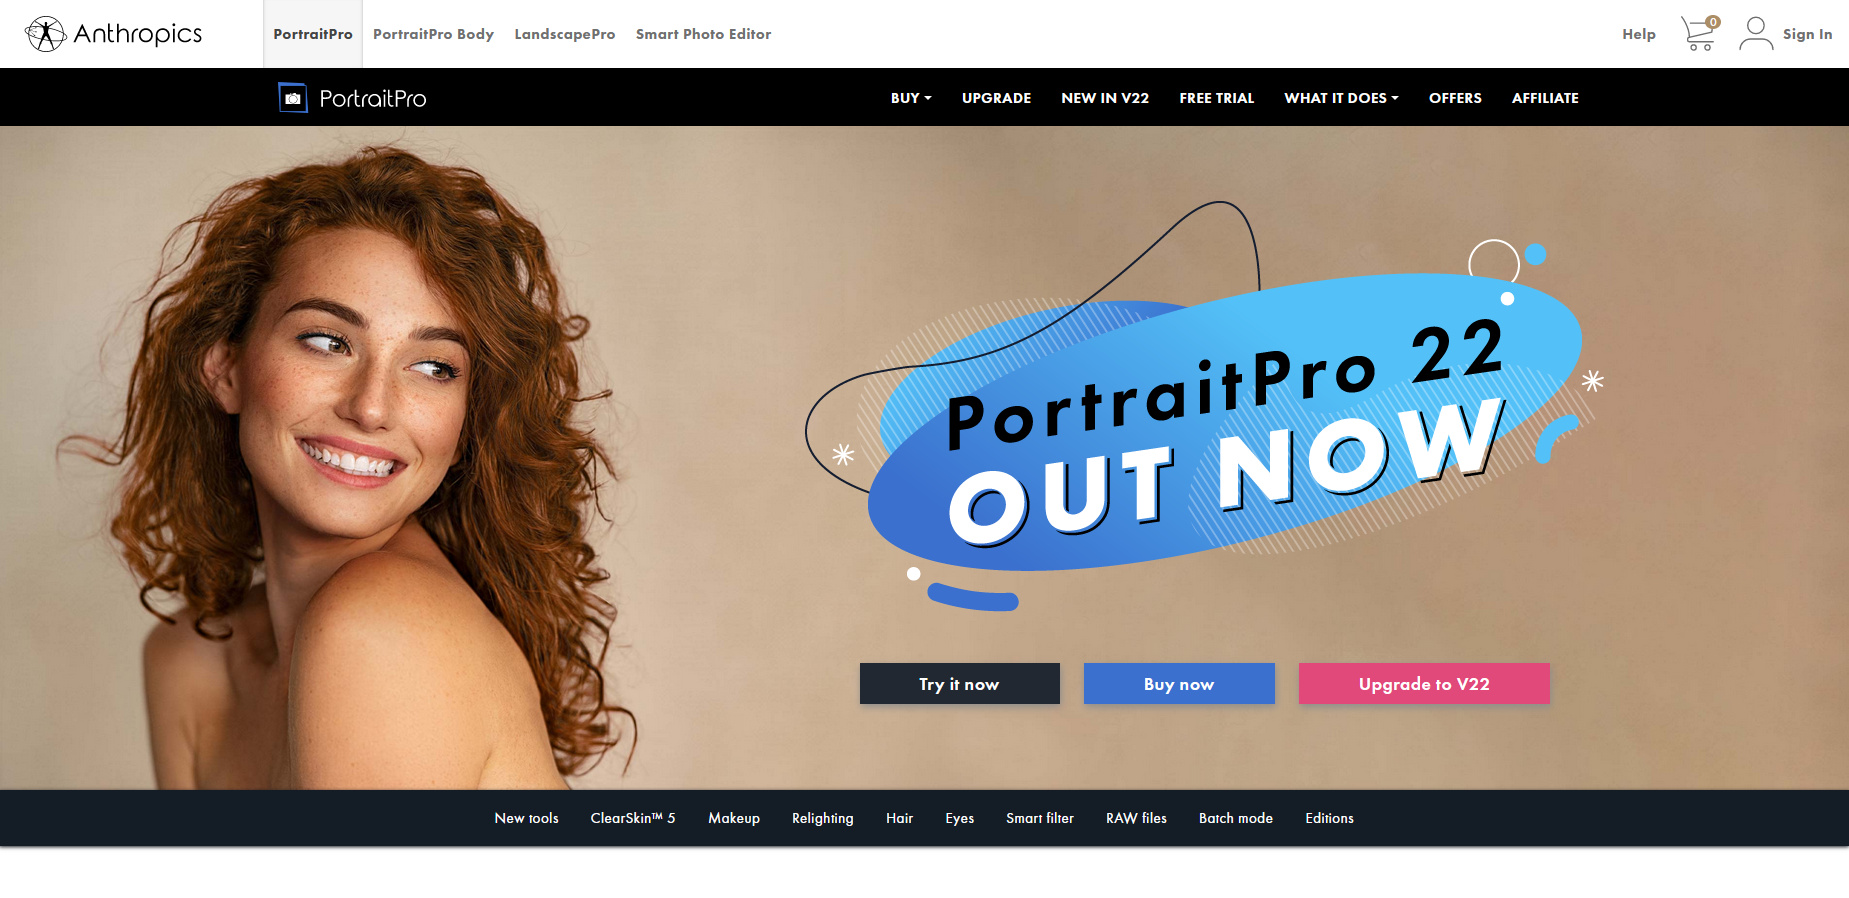 Type: Download
PortraitPro is only useful if you use human models in your product photography, but it’s quite powerful in what it does. It offers professional-grade retouching, relighting, reshaping, and more with advanced tools that help your models look their best — which, since hiring models can be expensive, is often better than scheduling them to come in for an additional shoot to retake any pictures that didn’t come out well. You can fix lighting issues and even make bigger changes like altering hair and makeup colors, which can also save a ton of time over having your models apply different makeup styles mid-shoot to go with different fashions.
There are three feature-rich editions available at different price points, and you get an automatic 50% discount for buying the software as a digital download. If you use models in your photos, PortraitPro is the way to make them look like they just stepped out of the pages of a high fashion magazine. Remember, this reflects on the perceived value and quality of your products as well.
Other Paid Photo Editing Options
While we’ve chosen these specific photo editing tools because they’re ideal for eCommerce product photography, this isn’t all the photo editing software in the world, by any means. There are many other apps, online tools, and desktop programs out there that might work perfectly for your needs. Just make sure you look at the features and ensure the tools you need are included. Remember: you need color correction, background removal, retouching (look for terms like “clone stamp,” “healing brush,” and “patch tool”), and drop shadows. It’s also worth looking up a few reviews of the software you might be interested in.
Final Tips for Choosing Your Image Editing Program
Now that you know how different image editing tools work, you can use that knowledge to help decide which solution you want to use. Consider your budget and the editing toolset that seems most comfortable to you.
Some image editors include other tools that aren’t mentioned in this guide because they aren’t common among editing apps. There may be other methods for selecting your background area for deletion. For example, Mac OSX comes with an image viewer and editor called Preview, which includes a tool called Instant Alpha. You can use this to click and drag on the image background to select areas to delete.
While evaluating image editing programs for background removal, look for the Magic Wand, Pen Tool, and Eraser as well as any specialized background removal methods like Instant Alpha. Look for the ability to work with layers, as we described in the Photoshop example earlier. Another method for achieving transparent backgrounds (which you can then place over white) is via Alpha Channels, which are available in Photoshop, GIMP, and others.
And of course, remember the other editing tools like retouching and color correction that we just covered. Keep in mind too that many tools or settings can have different names depending on the software.
Your photo post-processing workflow really depends on how comfortable you are using certain tools, and which process feels best to you. Some software has more than one way to accomplish each step, so use your favorite methods. This guide can introduce some methods and tools, but can’t tell you which one will be easiest and fastest for you specifically. What matters are your results.
Ready to Take Your Product Photography to the Next Level?
Hopefully, this guide has helped you better understand product photography and what separates good product photos from bad ones — and amazing product photos from good ones. And most importantly, how to take them yourself!
Let’s take a look at what we’ve covered:
- Why good product photography is important for your online store
- How to create a product photography studio (even with a low budget)
- The basics of camera settings and how they work
- The procedure for taking the actual product photos
- The best types of product photos to take
- How to optimize your product photos for the web
- The concepts behind post-processing and how to do it
- How and why to remove the backgrounds from product photos
- Free and paid options for photo editing software
The final word is that the quality of your product photography can have a direct impact on the success of your online business. Great photos improve your reputation and increase sales while reducing returns. With better product photos, customers will know exactly what they’re getting, and will appreciate you for making it clear.
If you’re new to eCommerce and you’ve never taken a single product photo yet, now you can start off on the right foot. And if you’re already an experienced product photographer, maybe you’ve found a small tip or two that could put you a step ahead. Just be patient and give yourself time to learn and improve, and you’ll be taking professional-grade photos before you know it.


Leave a reply or comment below